In this second part of my blog we’ll configure our networking and build our first windows server that will function as our DC / DNS / NTP / ….
1. Create an application
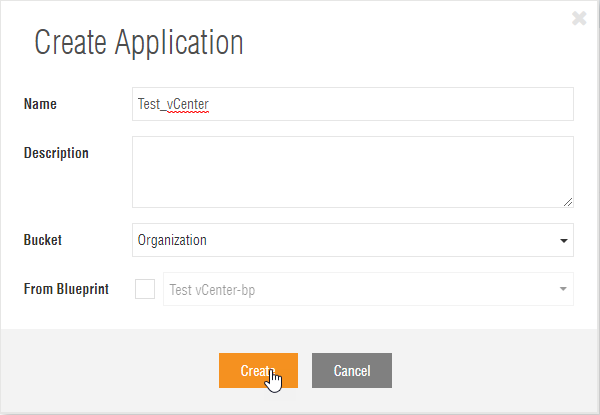
1. In your Ravello dashboard you go to Applications and click on “Create application”

2. You give your application a name and click on create.
2. Configure your network
I’m trying to play around with different VLAN’s however I didn’t succeed yet in doing that properly. But this is how I did it for the moment.
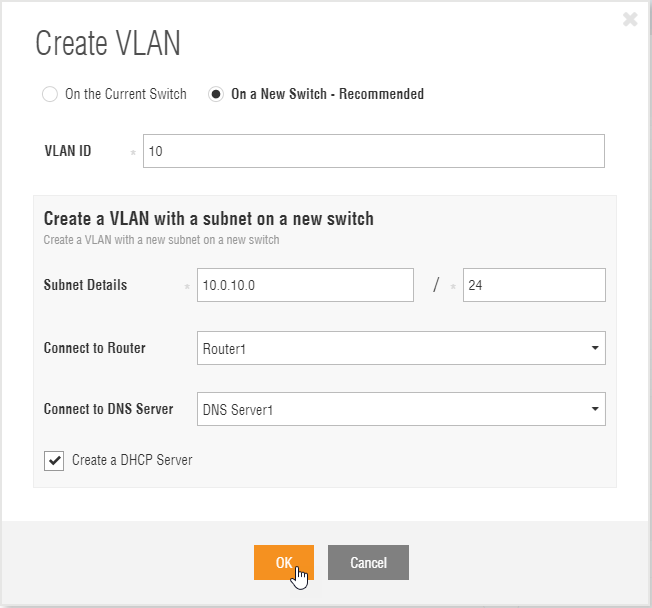
1. Go to the network tab. And on the right go to Network => Switches => Switch 1. Then at the bottom select VLANs (1) and there you click on “Create VLAN”

2. We’re going to create a VLAN 10 for management on Switch2
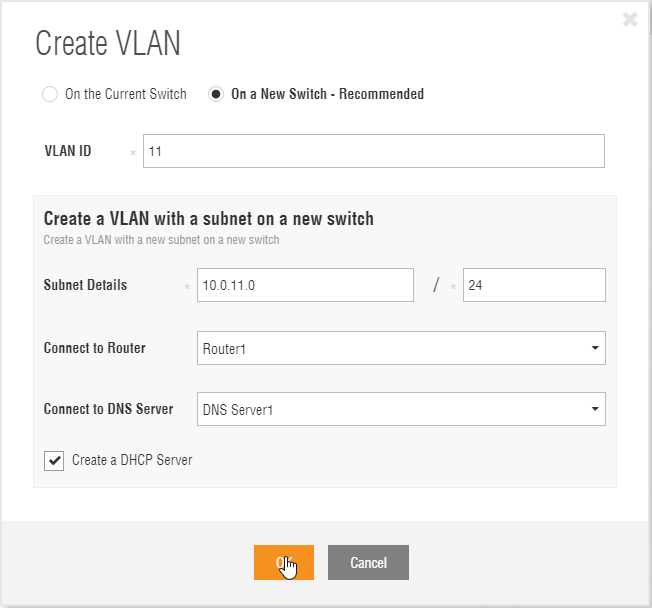
3. We’ll also need a VLAN for vMotion on Switch3
2. Build the Windows server
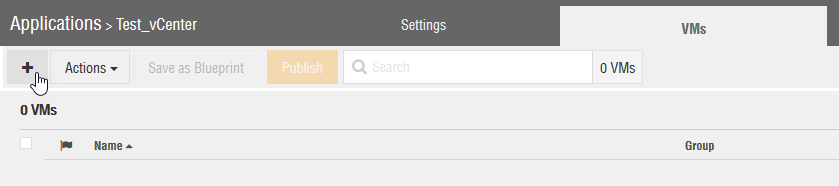
1. Go to the VMs tab and click on the “+ sign”
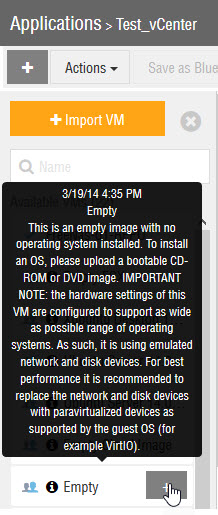
2. In the list search for the “Empty” VM and click on the + sign next to it.
3. Now we will go through the different configuration tabs of our windows server and we start with the general tab. Here we will change the Name and the Hostnames.

4. Here you can change the CPU & Memory to your liking

5. You can change the disk size if you want or add extra disks, we will also mount the ISO image for W2K19 by clicking on Browse for the CD-ROM.
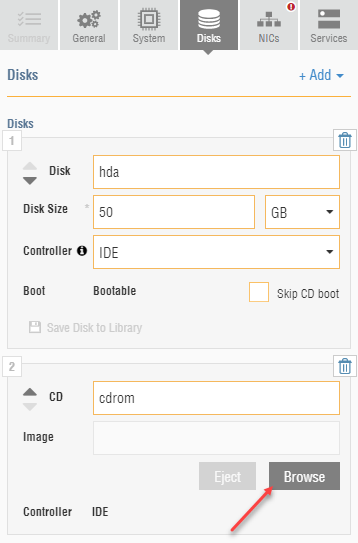
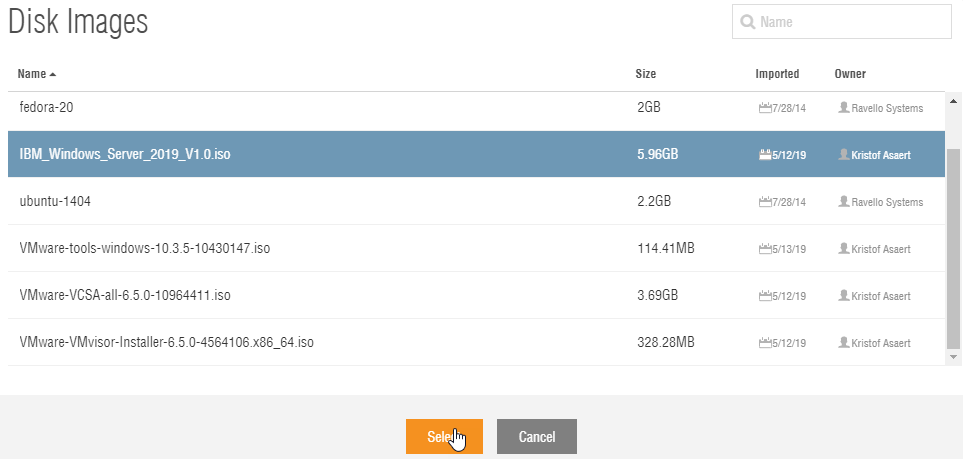
6. Select the W2K19 image that you uploaded in part 1 and click on select.
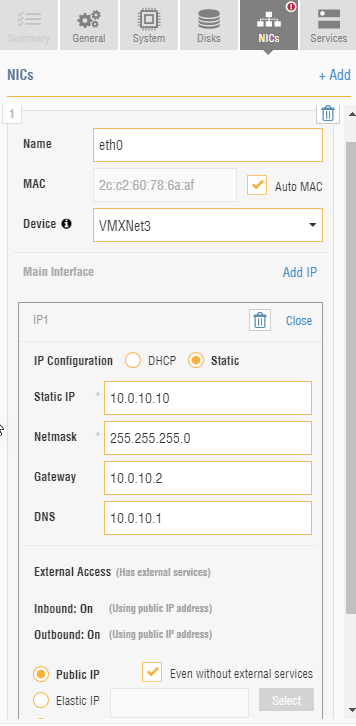
7. In the NIC’s section we will change the device to vmxnet3 and configure a static IP for the Windows server. We will ignore the NIC error for now.
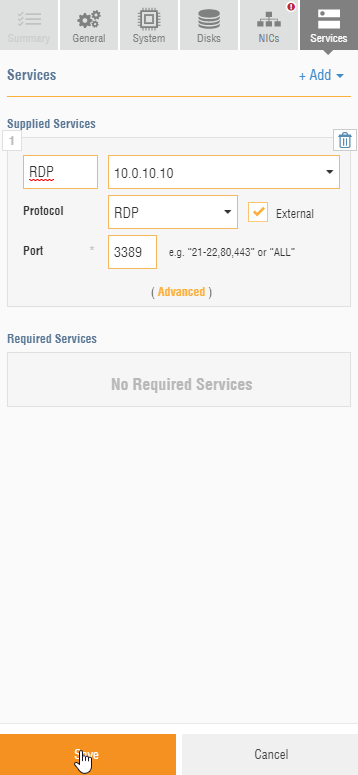
8. As this is a Windows system it’s useless to have an external SSH connection so we will change the SSH to RDP.

9. This is how it looks after changing it to RDP. We will now save the VM.
3. Resolve the NIC error.
To resolve the error we will now go to the network tab. Click on your VM and choose NICs (1). Now click on “eth0”.
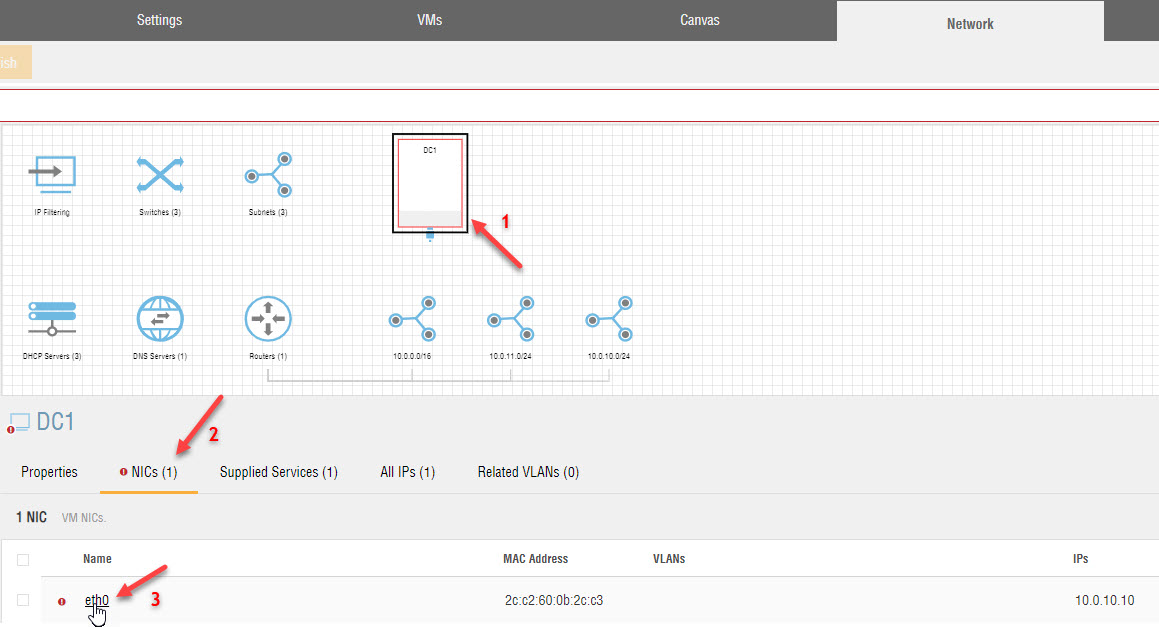
12. Click on “Connect to Switch”

13. Here we will choose Switch2 where VLAN 10 is present.

14. You will see in your overview that DC is now connected to VLAN 10.0.10.0/24

4. Publish your work
Ok, finally you’re ready to actually start your homelab. Click on Publish.

You will get an overview of your environment and you can open the “Detailed Pricing” section to see the cost for your homelab.

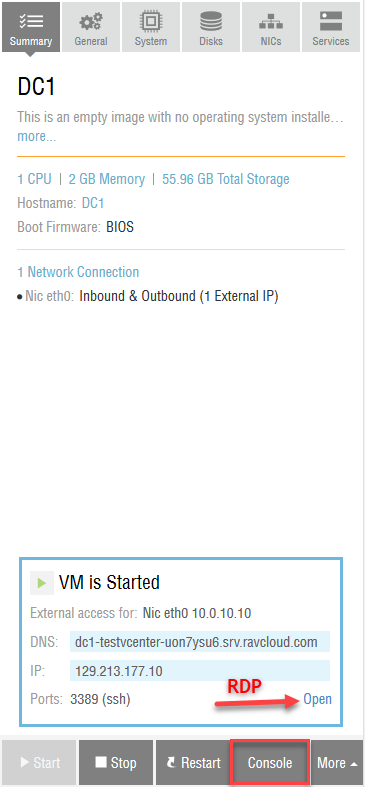
Once you published your application it will start your VM. Wait until it’s ready. Your system is ready when you see the “green arrow” on your VM.

When you see that the status is running you will have the possibility to start your console or open your RDP session. But for your RDP session to work you need to configure your IP first.
5. Finalizing your Windows VM
After you opened your console to your VM and Windows finished installing, you need to install VMware tools on it. This can be done by attaching the ISO with the vmware tools, which was done in part 1 => link
1.You go to your VM and go to the Disks tab where you click on Browse for the CD-ROM

2. Select your VMware tools ISO

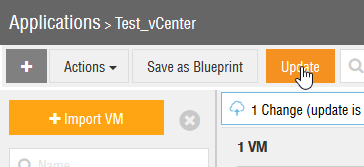
3. Update your application so the VMware tools ISO get’s loaded
4. Now you will be able to install the VMware tools in your VM and configure the correct IP on the NIC.
