It’s been a while since I’ve added a new blog post, but changing career to freelancer has quite an impact on your free time. But my good intentions for 2025 is to blog more again 😀
The infoblox integration took me some time to get all the settings right, so I thought this makes a good candidate for my new blog.
Content blog article
- Downloading the Infoblox plugin
- Create and configure the integration
- Network configuration
- Blueprint configuration
- Logs to be checked
- Encountered issues
- Closing off
1. Downloading the Infoblox plugin
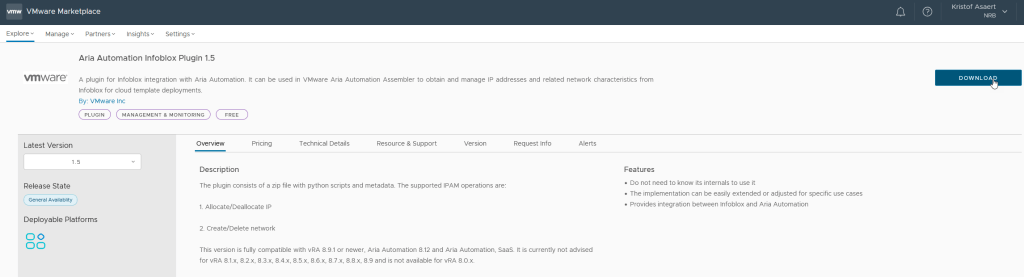
The first thing you need to do is to download the infoblox.zip from the VMware Marketplace. This Broadcom Techdoc link provides links to version 1.5 & 1.4. But as we’re using 8.18.0 you need to use version 1.5.
2. Create and configure the integration
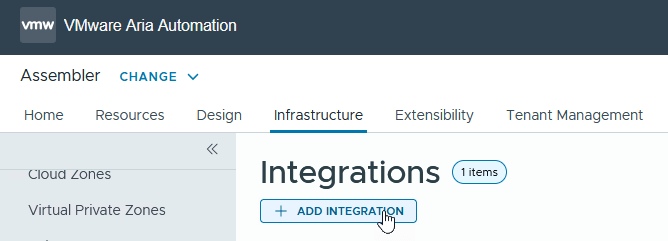
Now we need to go to Assembler / Infrastructure / Connections / Integrations
Click on “Add Integration”
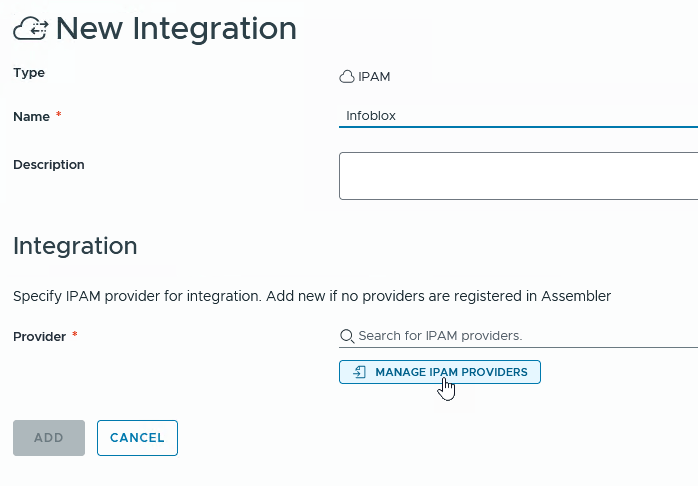
Click on IPAM

First we need to add the plugin to Aria Automation.
Give your integration a Name and then click on “Manage IPAM Providers”
Click on “Import Provider Package”
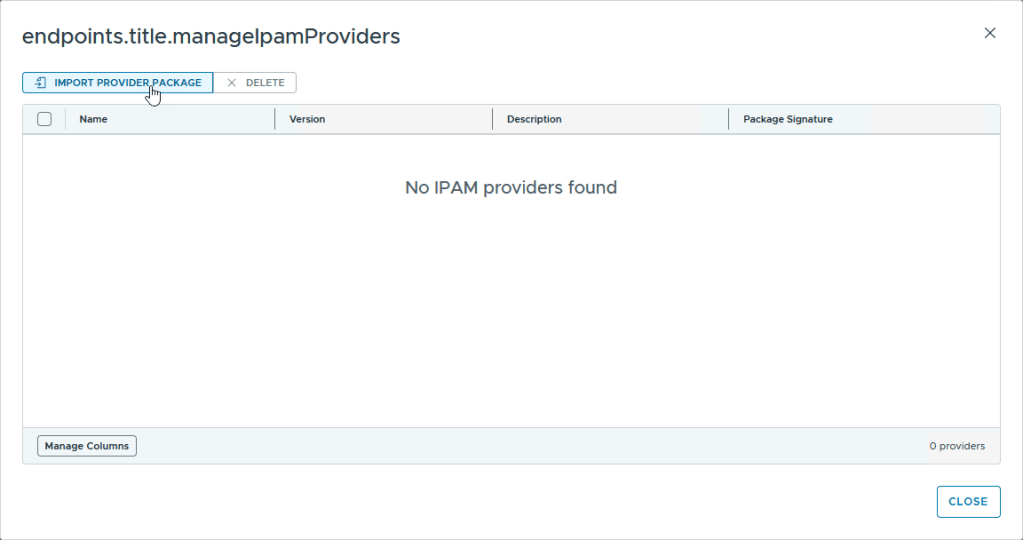
Search for your plugin that you just downloaded and open the file

Once it’s uploaded you will see the Plugin appear and you can click on close

Click on “Search for IPAM Providers” and you will see a dropdown box appear with the plugin you just installed. Choose the Infoblox integration.

Now you will see the rest of the settings appear that you need to fill in.
The easy ones Username / Password /Hostname for the Infoblox server you want to connect to.
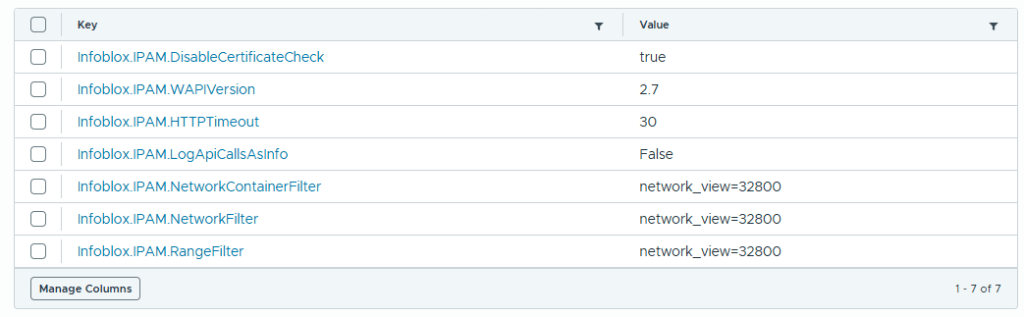
By default you get these settings, but you can change these settings off course.

For the settings in the table I’ll give a bit more explanation.
Currently we have an issues with the certificate validation so we’ve put CertificateCheck to true. This is NOT something you want to keep. You should be able to validate your certificate chain.
Then for the last 3 settings.
We have a multi-tenant environment and if you have several views in your infoblox you can narrow the list of views to this specific view. Now I’ve experimented to try to have several views, but whatever I tried it didn’t work. So let’s say that you need to have another view you can simply create a new integration with the view you need. That’s how we did it finally. Setting these values will only sync view 32800 into my integration which will make the synchronization also quicker.
Once you have filled everything in for your specific environment just click on validate and accept the pop-up for the certificate. Once it’s validated you can click on the Add button and your integration is created.

3. Network configuration
I’ve found this Broadcom article that explains the configuration you need to do for your Infoblox integration => link.
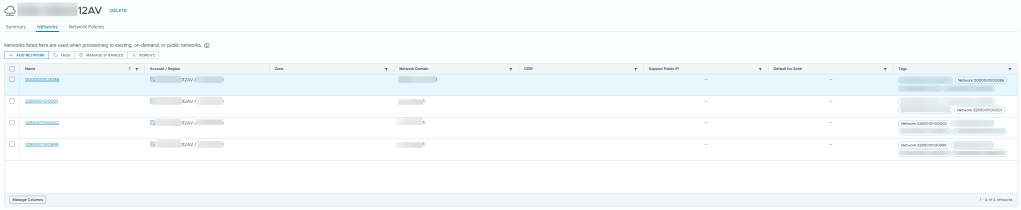
You will see that they assign a tag to your network profile and not to your individual networks. Now in my opinion that’s a wrong setup. Or let me rephrase that, if you only have 1 network in your network profile it will work. If you have multiple networks in your network profile than you have a problem.
Aria Automation is tag based which means that selection of your tags should result in one final resource. If you assign a tag on your network profile and you have for example 4 networks in your network profile, it means he will randomly select one of your networks to deploy your machine on. In my case I used a network tag with the same name as the name of the network.
4. Blueprint configuration
This is an example of your blueprint yaml file. Unfortunately he removed the spaces from the format. So if you just copy/paste this in your yaml make sure you set the indents on your lines as in the printscreen. Otherwise you will receive errors in your editor.
formatVersion: 1
inputs:
Network:
type: string
default: 32800|01|00001
resources:
Cloud_vSphere_Machine_1:
type: Cloud.vSphere.Machine
properties:
image: WIN-2022
cpuCount: 2
totalMemoryMB: 4096
Infoblox.IPAM.Network.enableDns: false
networks:
- network: ${resource.Cloud_vSphere_Network_1.id}
deviceIndex: 0
assignment: static
Cloud_vSphere_Network_1:
type: Cloud.vSphere.Network
properties:
networkType: existing
name: ${input.Network}
constraints:
- tag: Network:${input.Network}

5. Logs to be checked
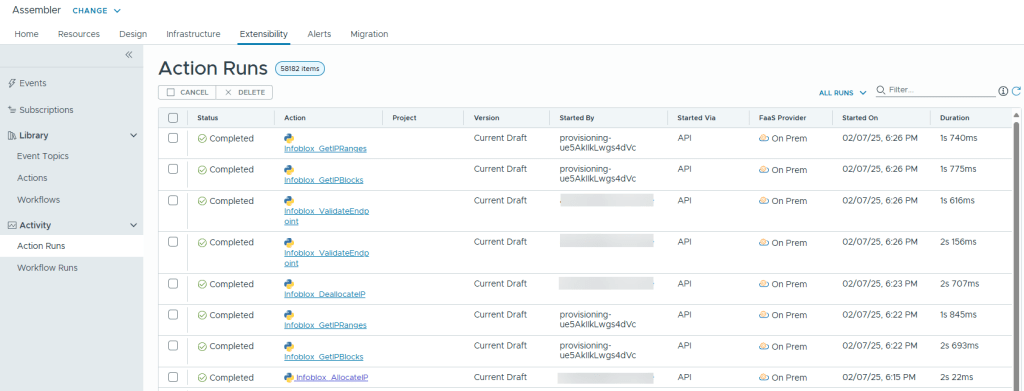
To validate if everything works fine related to your infoblox plugin, you can check logs in Assembler / Extensibility / Activity / Action Runs. Make sure that you select in the top right corner “All runs”.
Here you will see the Python scripts that are triggered which you can find in your infoblox plugin.
6. Encountered issues
When you look in your “Action Runs” from the previous point it’s possible that you also encounter failed runs. One failure in particular that I encountered was:
IP ALLOCATE failed: Action run failed with the flowing error: “(“Error allocating in network or range: Cannot create \\’record:host\\’ object(s): b\\'{ \”Error\”: \”AdmConDataError: None (IBDataConflictError: IB.data.Conflict:The action is not allowed. A parent was not found.)\”, \\\\n \”code\”: \”Client.Ibap.Data.conflict\”. \\\\n \”text\”: \”The action is not allowed. A parent was not found.\”\\\\n}\\’ ', {})"

To solve this issue you need to set below entry in your blueprint, which you will see in my blueprint configuration.
Infoblox.IPAM.Network.enableDns: false
7. Closing off
Well it was quite a journey for the implementation. But once you know how it works it's rather simple 🙂 Enjoy and let me know if you have any comments.

spectacular! 75Infoblox integration and IP assignment
LikeLike