Last week I needed a new virtual Microsoft cluster to install SQL on top of it. Something I already did quite a few times, but on that day I received the error “Incompatible device backing specified for device ‘0’”, when I tried to add the cluster disks to the second node.

I was blown away, because I was sure that I did the config correctly. But nothing makes us more human then when we make mistakes 🙂
So I checked the config and double checked it, but I still received the same error when trying to add the cluster disks to the second node.
After some troubleshooting I found out that the SCSI IDs of the disks were not identical across all the ESX’es of the cluster. I thought that this best practice would be known by now by everyone that’s working with VMware. But apparently that’s not true and that’s also the reason for this blog article. To make sure that the news is spread!
When working with storage (datastores / RDMs) there are 2 recommendations that you should take into account:
- Make sure that your SCSI IDs are unique across your vCenter clusters
- Depending on your storage vendor check if you need to disable ATS heartbeat or not.
How to correctly add RDM disks to your Microsoft Cluster.
Let me start with saying that (in my humble opinion) there’s only one correct way of setting up a Microsoft Cluster and that’s when it’s spread over 2 ESX’es. Simply because Cluster-in-a-box doesn’t protect you against a host failure so why would you even consider it.
1. Add SCSI controller
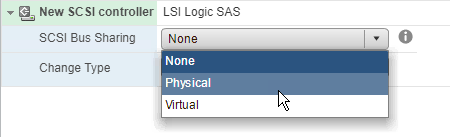
First we’ll start with adding a second SCSI controller to the VM. Shutdown both nodes and “Edit Settings” of your VM. In the New device list choose “SCSI controller” and click on “Add”.

Put the config on “Physical” and save your changes. Do the same on the second node.
2. Add RDM disks on first node
Go to your first node and edit the settings of the VM. From the dropdown list choose “RDM Disk” and click on add

Choose the disk you want to add to your first node

When you add the disk make sure you add it to the SCSI controller you added in the previous step. And choose a free slot on the SCSI controller. The first disk you add will generally be on slot 0.

Repeat this process for all the disks you want to add to your cluster. In general you will need 1 quorum cluster disk and 1 or more data disks in your cluster.
When you’re done adding all your disks then go back to the settings of the disk and write down all below information because you’ll need it in the next step. You’ll need the location of your datastore, the name of your disk and the position on your SCSI controller. In my case I needed:
datastore => [DS_IMP_KA-APP-01-V7N_001]
diskfile => XC02LSQL003_1.vmdk
SCSI controller location => 1:0

3. Add existing disks on the second node
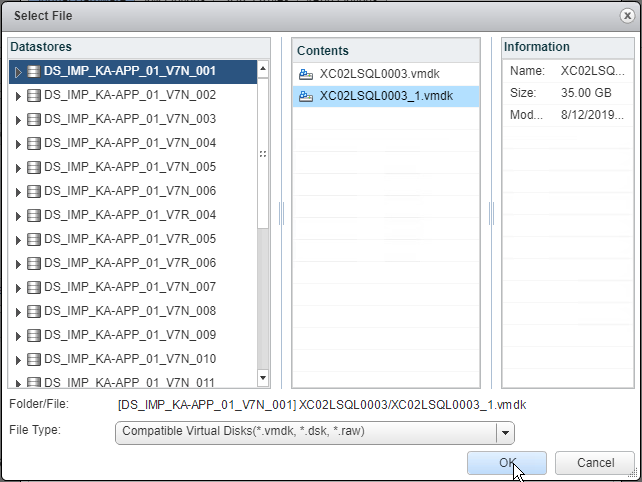
Now go to your second node and edit the settings of the VM. From the dropdown list choose “Existing Hard Disk” and click on add

Browse to the location of your vmdk and click on “Ok” to add the disk
Now you need to change the location of this disk to the controller we added in step 1, meaning SCSI Controller 1. When you add the disk make sure you respect the same SCSI controller ID for all your disks. In this example I’m referring to SCSI(1:0) this means the disk will be added to controller 1 on address 0.

Repeat this process for all the disks you want to add to your cluster.
4. Add the disks in your windows OS.
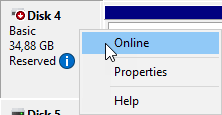
The last step is to add the disks on your windows server. Open Disk Manager and you will receive below pop-up. Initialize the disk as a GPT disk and click on OK.

In case you don’t receive above screen while opening Disk Manager you will need to right click on your disk and choose “Online”. After that you will be able to right-click the disk again and choose initialize.
Now you need to execute the remaining tasks on your disks:
* Create a new “Simple volume” and assign a drive letter
* Format the drive correctly (this is important for SQL as SQL data disks need to be formatted with 64k format)
Repeat these steps on the other node!
5. Add the disks to the cluster
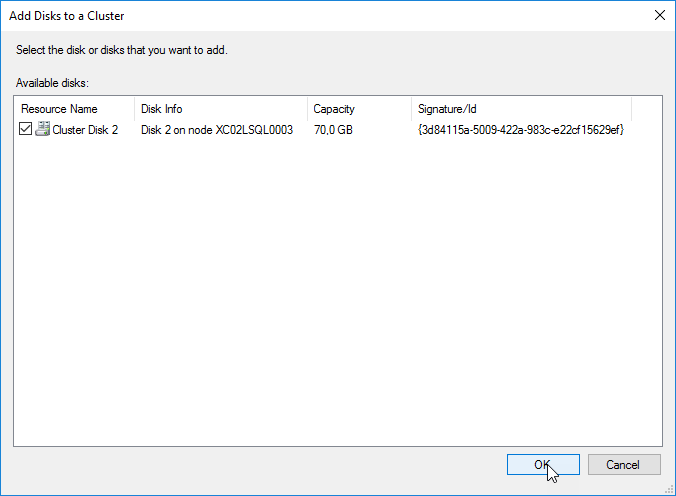
I’m not going to explain the setup of a Microsoft cluster. So here I already created the Microsoft Cluster and added a resource to it. You can add the disk to your cluster with right-click on Disks and choose “Add Disk”

You should see all the disks you added in the previous steps. Just click on ok to continue.
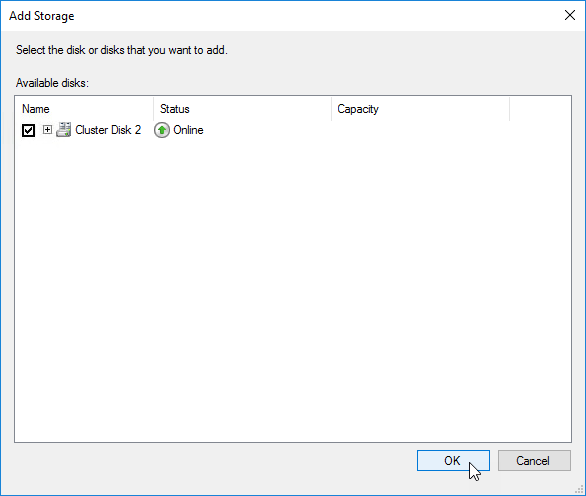
Now you will be able to add the disks to your cluster resource. Right-click on your resource and choose “Add Storage”

Add all the disks to your resource that your created in previous steps. Just check the disks you want to add to your cluster resource and click on OK.
Now you’re ready to deploy your SQL on it 🙂
Happy clustering.
