Finally I had the opportunity to implement and play around with vVols. In my case it was on a Lenovo DM7100F with an expansion enclosure for NVMe (DM240N) and another one for SSD (DM240S). This is a similar product like the Netapp AFF A400.
In this first part I’ll give you an intro on vVol’s and show you how to deploy and configure your Lenovo VSC appliance. In the second part I’ll talk about the creation/management of vVols and I will also share my tips and encountered issues.
Content blog article
- Intro on vVols
- Mapping these vVol components to the DM7100F
- Best practices
- Install Lenovo VSC appliance
- Add your storage box
- Access your Lenovo VSC
1. Intro on vVols
I’m going to give you a summary of VMware’s definition of vVol’s.
What are vVols? vVols are a framework that virtualizes SAN/NAS arrays. They simplify operations through policy-driven automation. With vVols, an individual virtual machine and its disks, rather than a LUN, becomes a unit of storage management for a storage system. vVols encapsulate virtual disks and other virtual machine files, and natively store the files on the storage system.
vVols Component Overview
vVols constitutes of five major components namely vVol Device, Protocol End Point, Storage Container, VASA Provider and Array and all these components are managed/used/handled by different components in the vSphere Stack such as Virtual Center (VASA, SPBM), ESXi (Hostd, VVOLD, VVOL FDS Driver).
Characteristics of vVols:
- No File System.
- ESX manages the array through VASA (vSphere APIs for Storage Awareness) APIs.
- Arrays are logically partitioned into containers, called Storage Containers.
- Virtual machine disks, called vVols, stored natively on the Storage Containers.
- IO from ESXi host to the storage array is addressed through an access point called, Protocol Endpoint (PE).
- Data Services are offloaded to the array. Snapshot, Replication, Encryption.
- Managed through storage policy-based management (SPBM) framework.
VASA (vSphere APIs for Storage Awareness) APIs (VP) A vVols storage provider, also called a VASA provider is a software component that acts as a storage awareness service for vSphere. The provider mediates out-of-band communication between the vCenter Server and ESXi hosts on one side and a storage system on the other.
- Software component developed by Storage Array Vendors.
- ESX and vCenter Server connect to VASA Provider.
- Provides Storage awareness services.
- Single VASA Provider can manage multiple arrays.
- Supports VASA APIs exported by the ESXi host.
- VASA Provider can be implemented within the array’s management server or firmware.
- Responsible for creating vVols.
Storage Containers (SC) Unlike traditional LUN and NFS based vSphere storage, the vVols functionality does not require pre-configured volumes on a storage side. Instead, vVols uses a storage container, which is a pool of raw storage capacity or an aggregation of storage capabilities that a storage system can provide to vVols.
- Logical storage constructs for grouping of vVols.
- Logically partition or isolate virtual machines with diverse storage needs and requirement.
- A single Storage Container can be simultaneously accessed via multiple Protocol Endpoints.
- Desired capabilities are applied to the Storage Containers.
- VASA Provider discovers Storage Container and reports to the vCenter Server.
- Any new virtual machines that are created are subsequently provisioned in the Storage Container.
Protocol Endpoint (PE) Although storage systems manage all aspects of vVols, ESXi hosts have no direct access to vVols on the storage side. Instead, ESXi hosts use a logical I/O proxy, called the Protocol Endpoint (PE), to communicate with vVols and virtual disk files that vVols encapsulate. ESXi uses Protocol Endpoints (PE) to establish a data path on demand from virtual machines to their respective vVols.
- Separate the access points from the storage itself.
- Can have fewer access points.
- Existing multi-path policies and NFS topology requirements can be applied to the PE.
- Access points that enables communication between ESXi hosts and storage array systems.
- Compatible with all SAN and NAS Protocols: iSCSI, NFS v3, FC, FCoE.
- A Protocol Endpoint can support any one of these protocols at a given time.
vVols Objects A virtual datastore represents a storage container in vCenter Server and the vSphere Web Client. vVols are encapsulations of virtual machine files, virtual disks, and their derivatives.
- Virtual machine objects stored natively on the array storage containers
- There are five different types of recognized vVols:
- Config-vVol – Metadata (4GB)
- Data-vVol – VMDKs
- Mem-vVol – Snapshots
- Swap-vVol – Swap files
- Other-vVol – Vendor solution specific
2. Mapping these vVol components to the DM7100F
VASA provider = Lenovo Virtual Storage Console
Storage container = Lenovo aggregate. In our case we had 1 storage box with 2 aggregates
Protocol endpoint = This is automatically created when you create a vVol.
vVols objects = vVol datastore
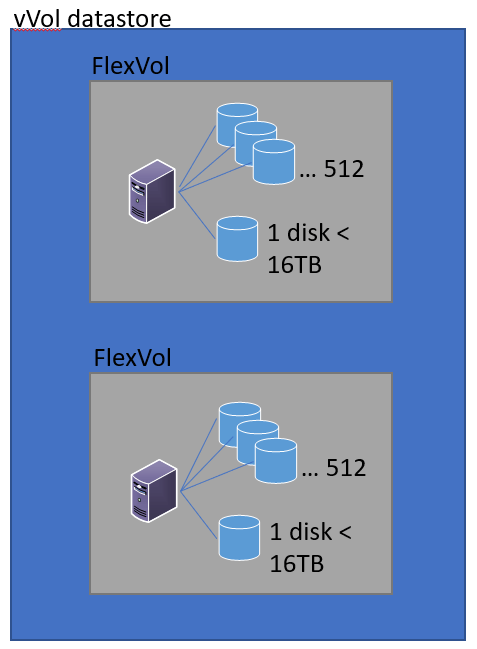
When you look for the first time at the Ontap VVol limits, the used naming convention can be a bit confusing. If you want to clarify it, just change “VVol” by “VMDK” and you’ll understand it immediately.

In our case our storage box consisted of 2 nodes, so we created 2 FlexVol’s per vVol datastore to spread the load between the 2 nodes. I hope below picture clarifies the vVol limits table. This means that if you want to increase your amount of possible vmdk’s, you just create multiple FlexVol’s.
3. Best practices
Do not provision or migrate the VASA Provider virtual appliance to a VVol datastore. If you do, it may not be possible to boot the appliance or power on the VVol VMs.
Use the VASA Provider for ONTAP to provision VVol datastores and protocol endpoints. Although it’s possible to create VVols with the general vSphere interface, using the VASA Provider interface automatically creates protocol endpoints as needed, and creates FlexVol volumes using ONTAP best practices. Simply right-click the host, cluster, or datacenter, then select VASA Provider for ONTAP and Provision VVol Datastore.
Avoid VVol operations across different ONTAP releases. Using different releases in an ONTAP cluster, or moving VVols between clusters with different releases, can result in unexpected behavior or compliance alarms.
Evaluate the optimal number of FlexVol volumes for your environment. A single FlexVol volume for the VVol datastore gives maximum storage efficiency. The VASA Provider offloads many VVol storage operations to ONTAP, including migration, cloning, and snapshots. When this is done within a single FlexVol volume, space-efficient file clones are used and are almost instantly available. When this is done across FlexVol volumes, the copies are quickly available, but storage efficiency is not recovered until background jobs run. However, using multiple FlexVol volumes can help achieve maximum performance from the hardware resources of a single controller. Multiple volumes are also valuable for SAN environments due to the LUN count limits of a single volume. And using FlexVol volumes with different attributes allows flexibility in provisioning and automatically migrating a VM within a single VVol datastore based on policy.
Keep Storage Capability Profiles simple. To avoid specifying capabilities that aren’t required, set them to Any. This setting minimizes problems when selecting or creating FlexVol volumes.
Specify the Storage Capability Profile by name when creating a VM Storage Policy. Earlier versions of the VASA Provider for ONTAP allowed specification of individual capabilities, like Protocol, Max_IOPS, and so on. But this made matching a policy with a profile complex and problematic. Instead, simply select the ProfileName when creating a policy. This is the only policy rule supported with version 7.2 of the VASA Provider.
Consider using Max IOPS to control unknown or test VMs. First available in VASA Provider 7.1, Max IOPS can be used to limit IOPS to a VVol for an unknown workload to avoid impact on other, more critical workloads. ONTAP Service Level can also be used in VASA Provider 7.2 to specify minimum and maximum IOPS per TB for a VVol. See section 3.4 for more about performance management.
4. Install Lenovo VSC appliance
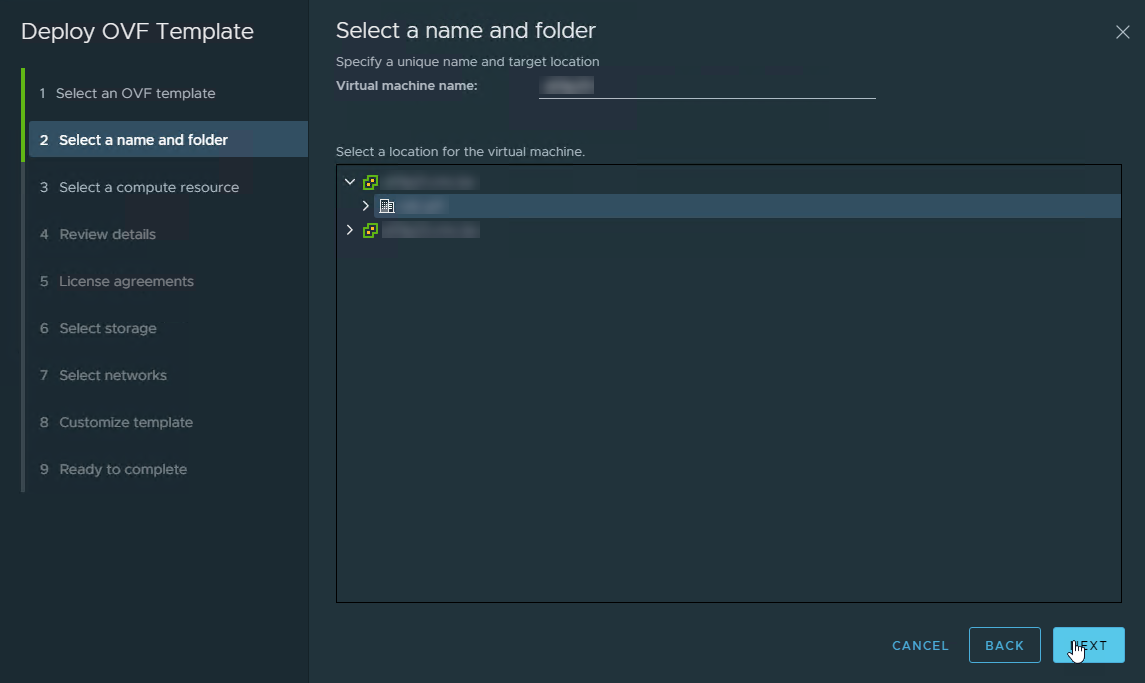
With Lenovo hardware it’s important that you have the S/N of your devices at hand. If you don’t have them with you, you will not be able to download the necessary packages. Once you’ve downloaded the VSC appliance we will deploy the template.

Give your template a name and a location where you want to put it.
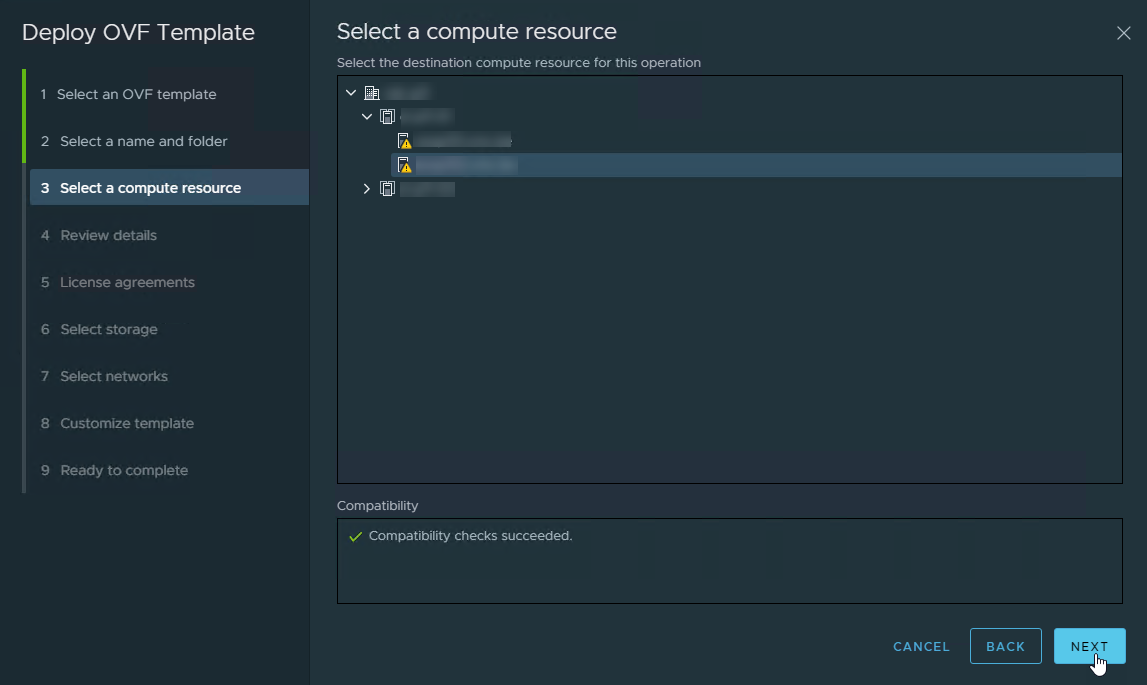
Choose on which cluster resource you want to put your appliance
Click on Next
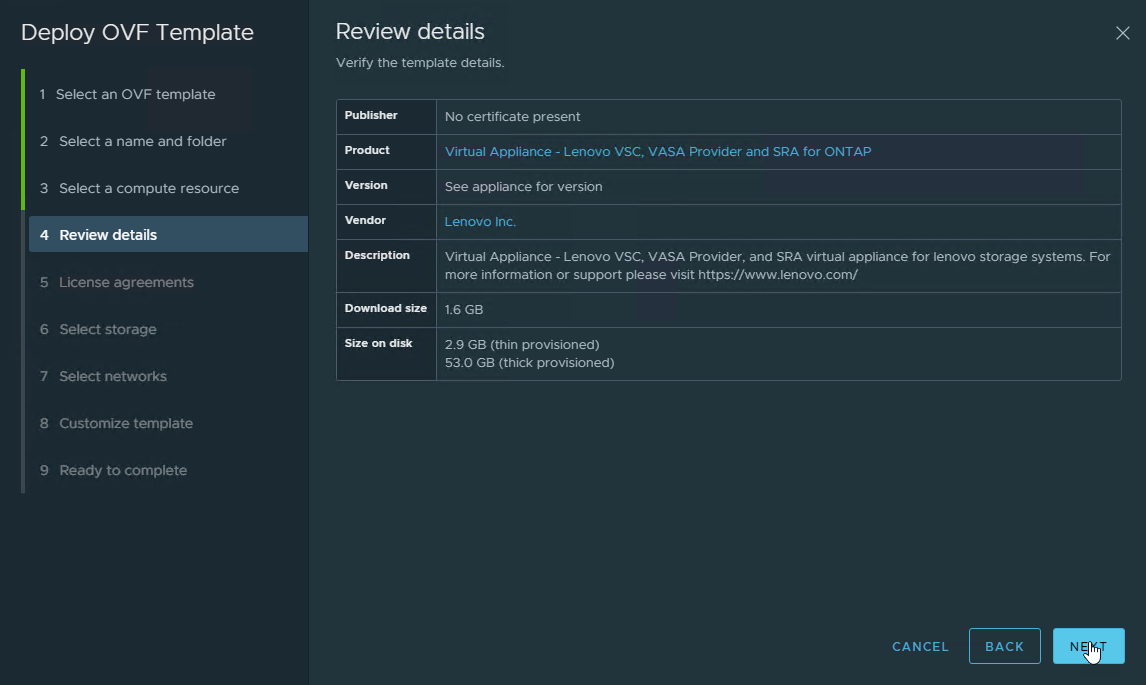
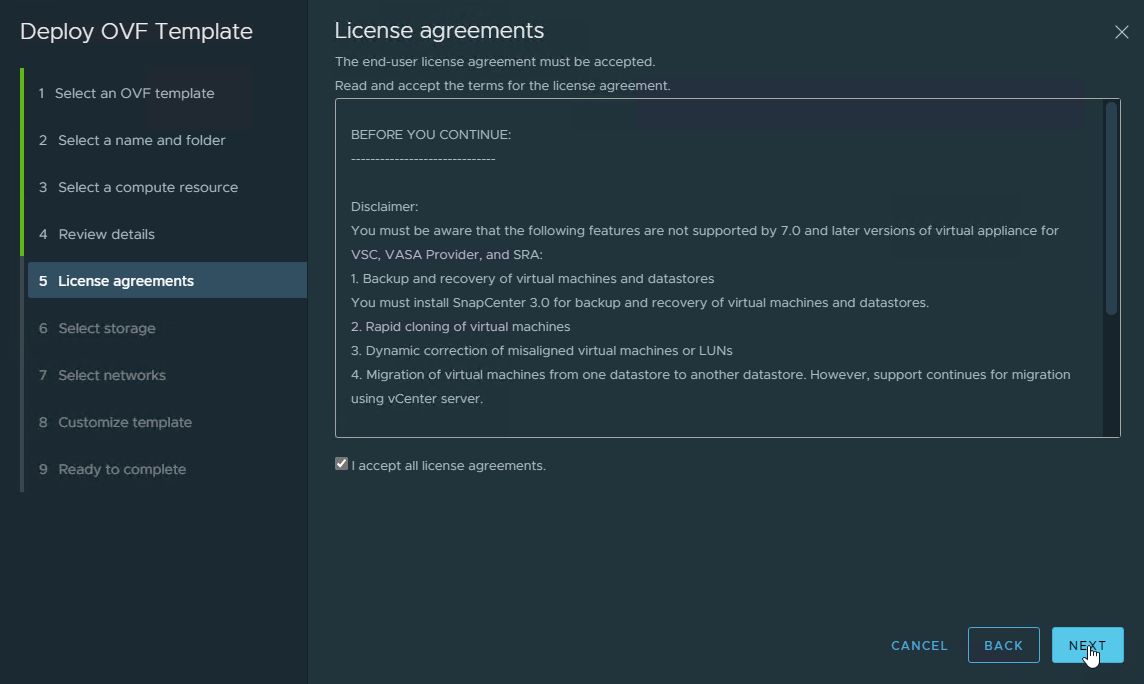
Agree with the License Agreement.
Select the datastore where you want to deploy the VSC. And choose if you want to opt for Thin or Thick provisioning.

Select your network for the appliance.

Here you will need to configure the password for the administrator and the maint userid. And you will also configure your NTP servers. Scroll down for the rest of the deployment options.

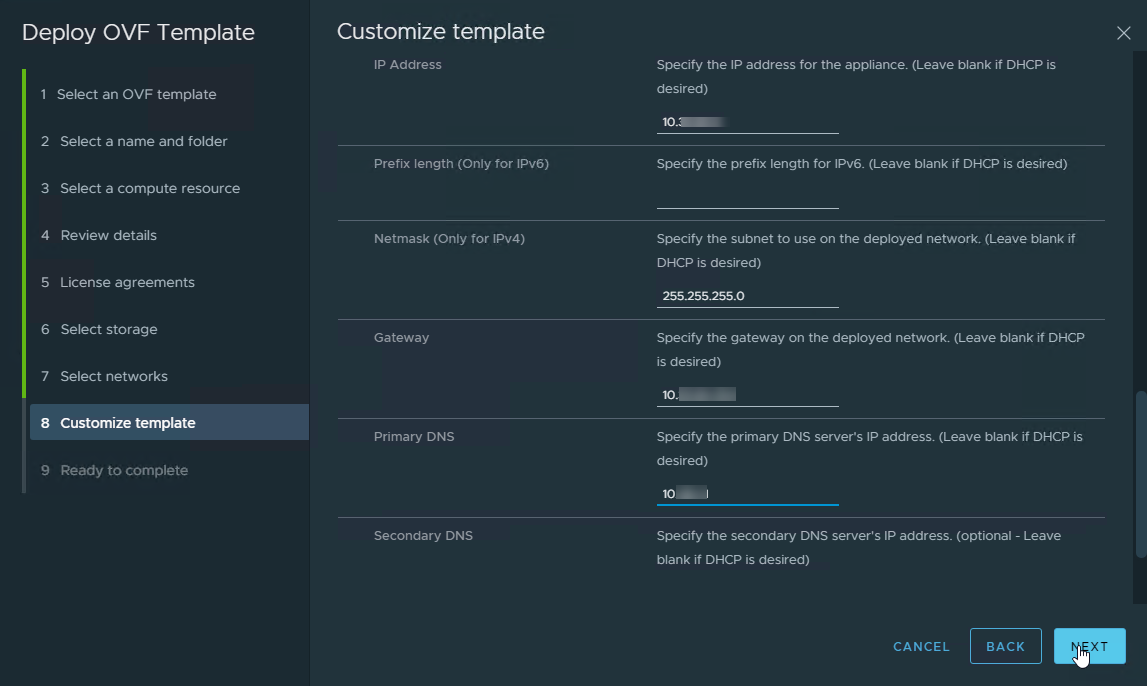
Specify your vCenter server and the credentials to connect to it. Also provide the hostname of your device. Scroll down for the rest.

Specify IP / SN / GW & DNS. Scroll down to configure the rest of the options.
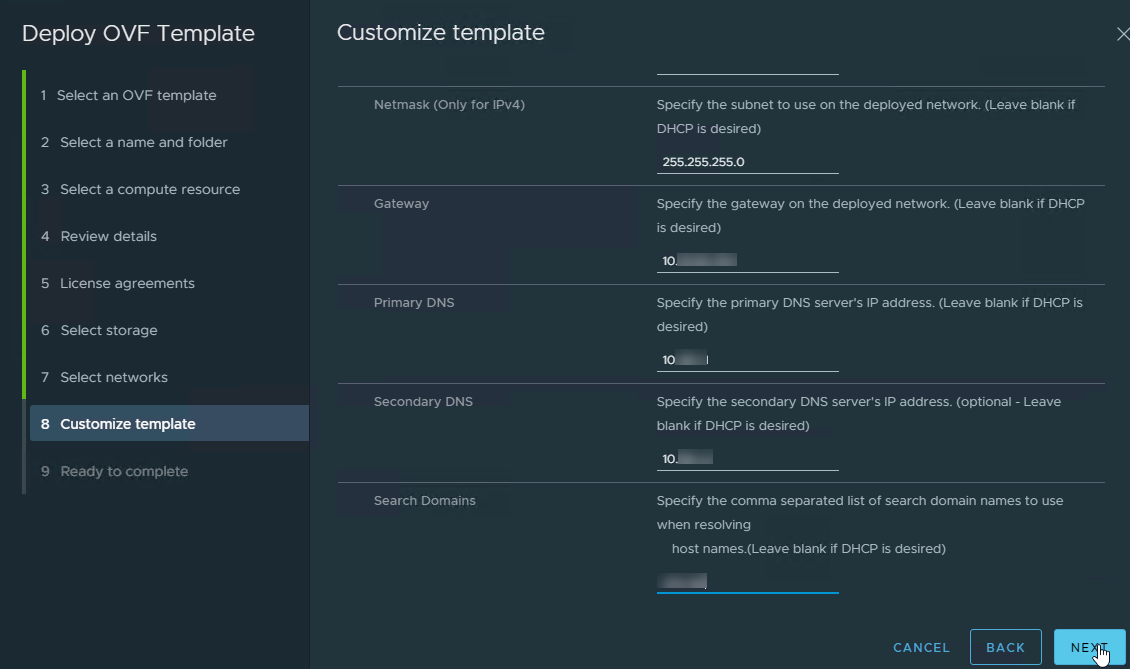
Here you will define your search domains. The rest is similar of the previous step.
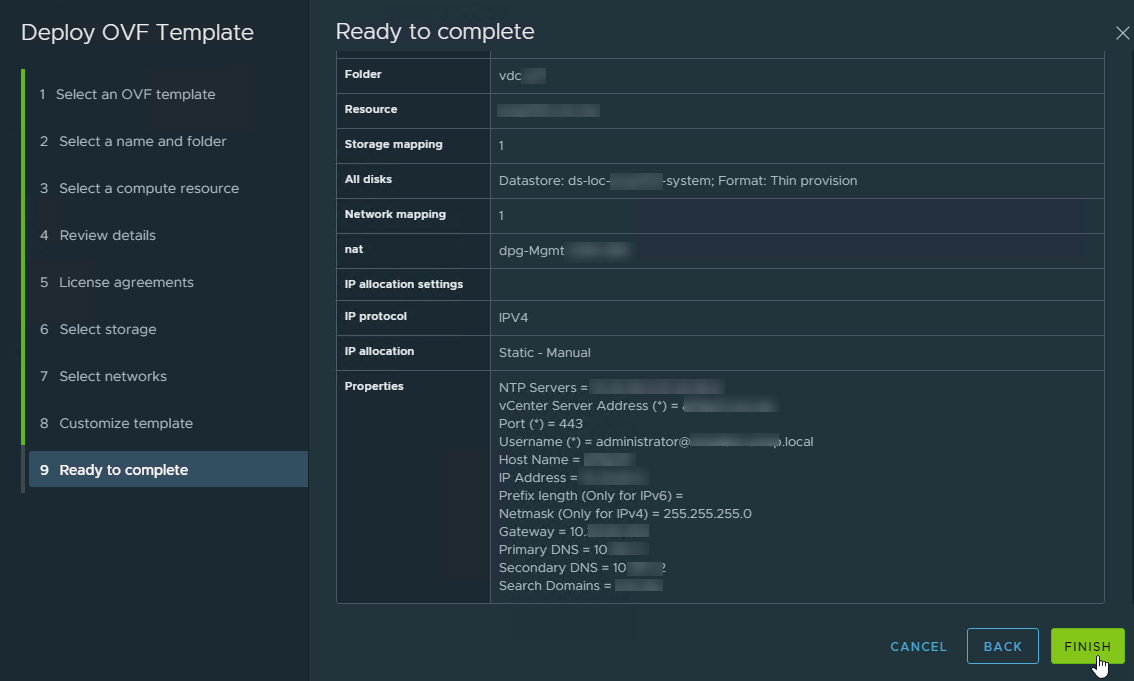
Check the summary of your deployment and click on Finish.
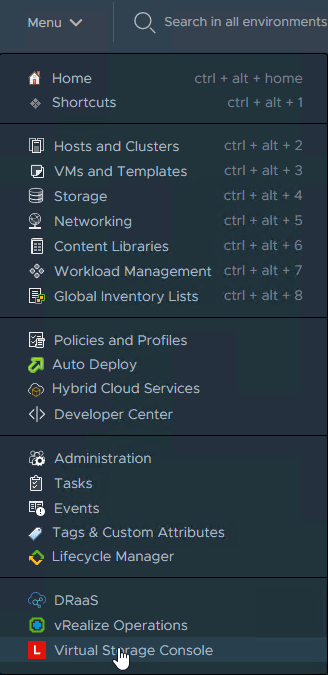
5. Add your storage box
Now the VSC is deployed we can add our storage box. Go to Menu and choose “Virtual Storage Console”
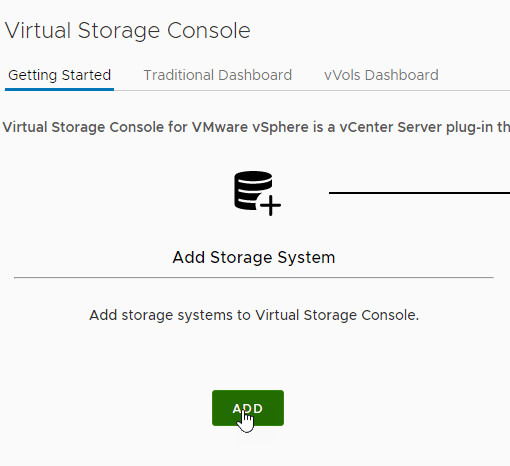
You will enter in the Getting Started page. Click on Add.
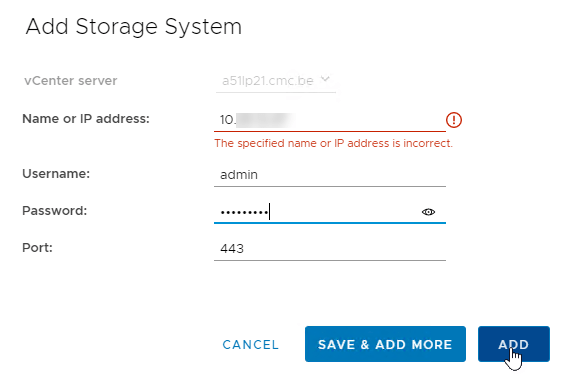
Fill in the IP address of your storage box and provide the credentials to connect to your storage box. Even though he says the IP address is incorrect, this was the correct one and I was able to continue.
You will now see your Storage Box in the overview.

6. Access your Lenovo VSC
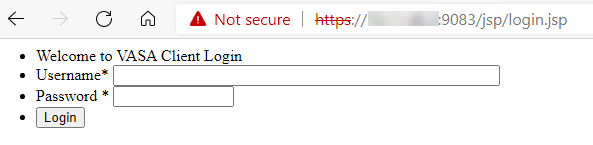
You can access your VSC appliance by going to https://VCS_IP_or_FQDN:9083/jsp/login.jsp
If you still remember from your deployment, there are 2 userids created:
1. administrator
2. maint
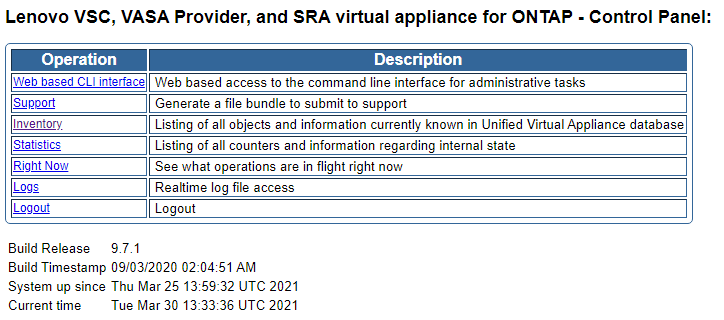
Once you’re logged in you have different options in your VSC control panel
Closing off
Stay tuned for part 2, because I’ll show you how you can create and manage vVol’s. I’ll also share my tips and encountered issues. As always, comments & ideas are always welcome.

Great bblog you have here
LikeLike
Thanks Karen 😁
LikeLike
I’m not seeing the “Part 2” anywhere in my search. Was it written?
LikeLike
Hey Kevin,
Unfortunately, the customer decided not to go for vvols so I couldn’t continue anymore on my part 2.
LikeLike