A huge advantage of being a vExpert is that you have a lot of licenses at your disposal. So if you have the necessary hardware, you can test a lot of products. Today I’ll be deploying vROps / vRNI & Log insight with LCM.
Content blog article
- Upload vRNI to LCM
- Create environments
- Check deployment
- Closing off
1. Upload vRNI to LCM
Because vRNI isn’t part of my downloads I had to manually download it from the VMware portal. And I’ve learned something 🙂 . In my previous article I copied a file to my LCM appliance, but without thinking I just put it in the /var/tmp folder. But that’s not the correct location where you should copy your files.
You should copy them to /data, because there you have the biggest part of assigned storage.

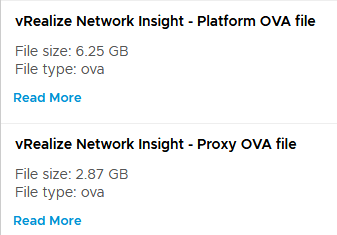
For vRNI you need to to download Platform & Proxy OVA
2. Create environments
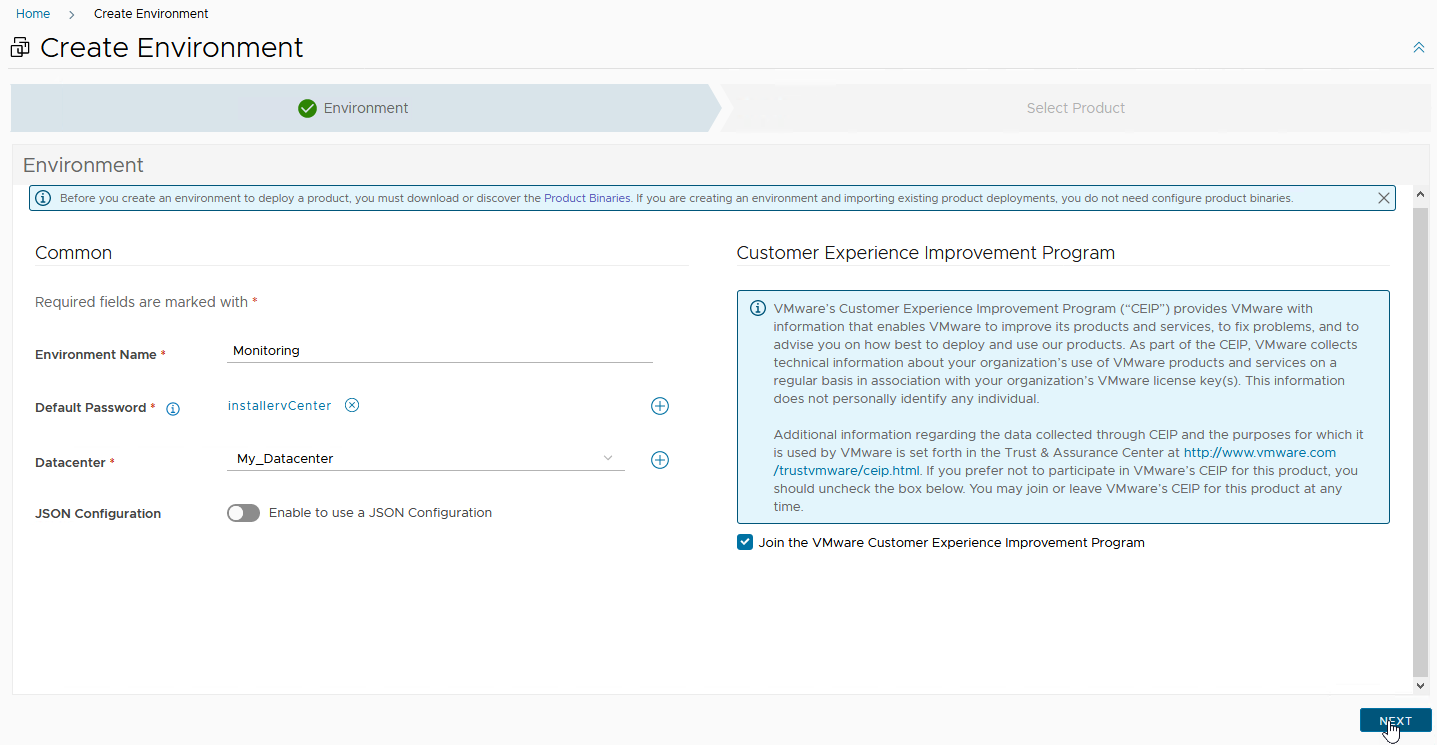
Fill in the required information. I’ve called my environment “Monitoring”.
Select vRealize Loginsight, vRealize Network Insight & vRealize Operations. Only for vRealize Operations I’ve chosen a small HA cluster, for the rest I just used the Standard Deployment Type.

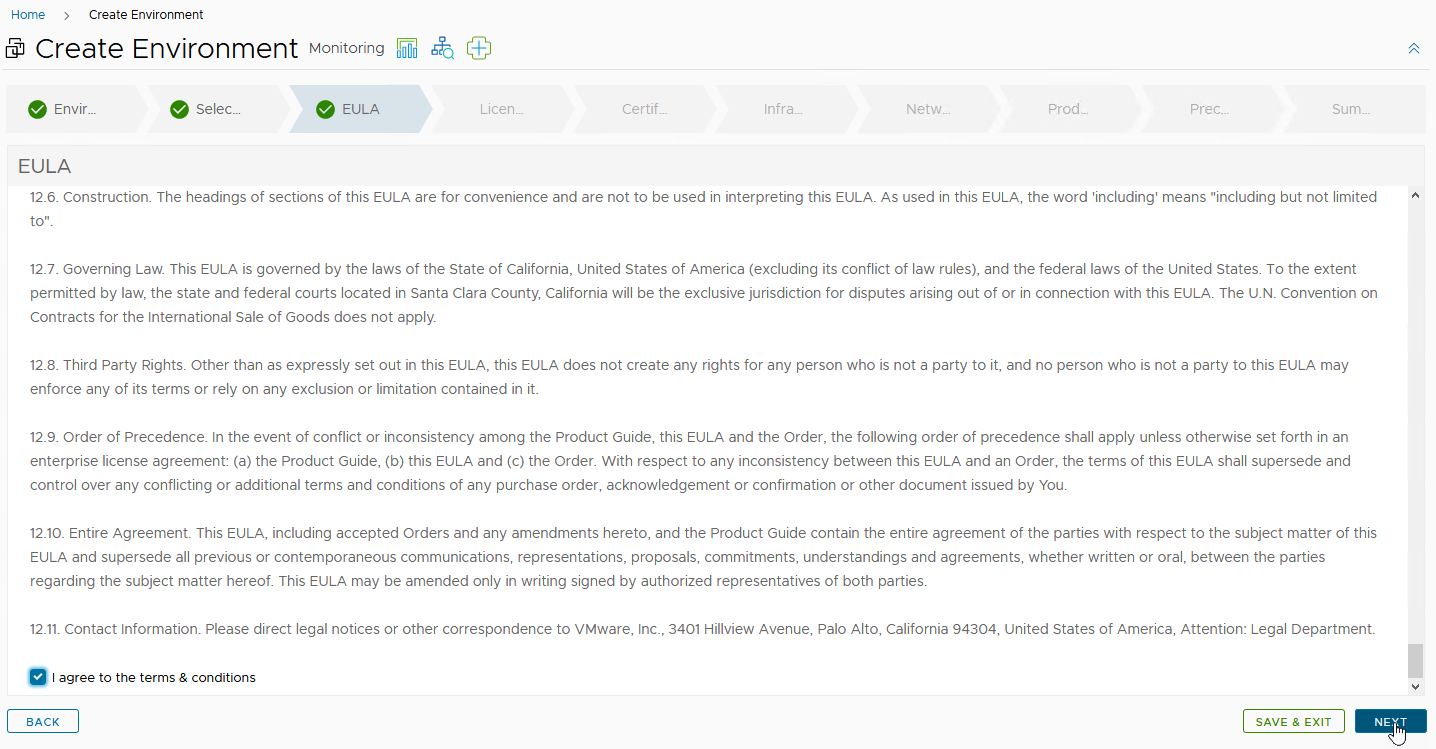
Accept the EULA
Here you will need to select the correct licenses. Click on Select.

On this page select the necessary licenses you will need for your deployment.

Don’t mind the errors, you need to validate your associations. Click on Validate Association.

Select the correct licenses for the 3 products.

Now you will see that all your applied licenses are ok.

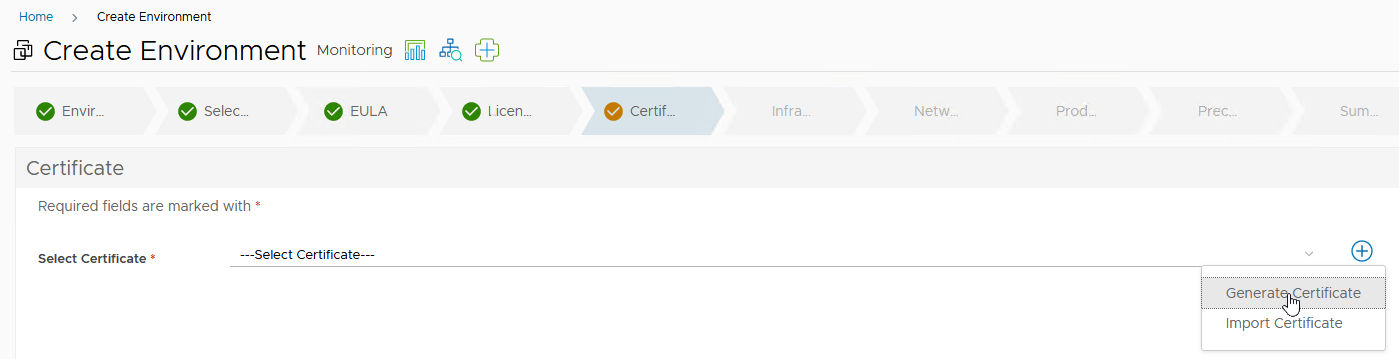
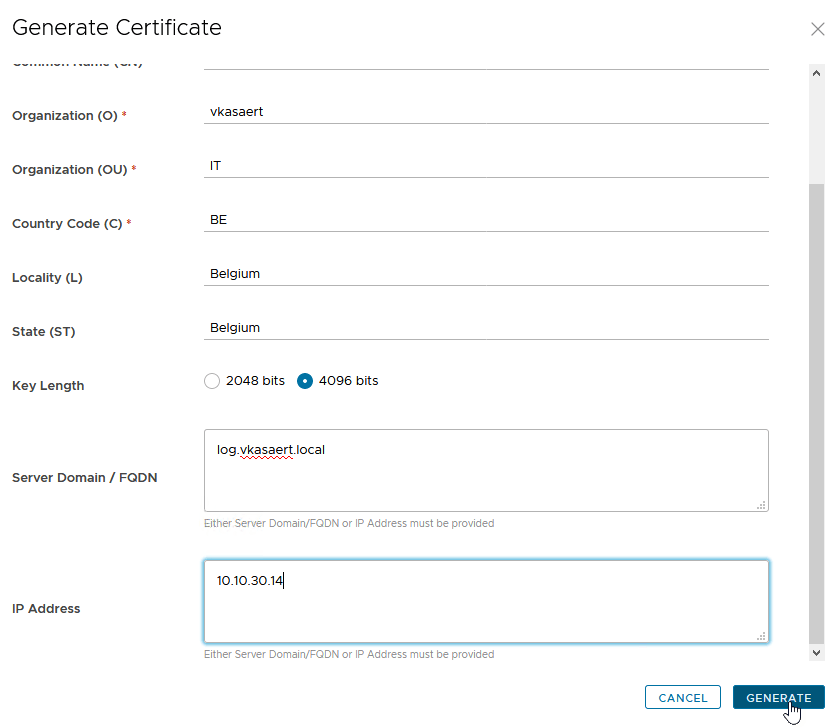
Now we will need to create a certificate. Go to the right of the page and click on the “Plus sign” and select “Generate Certificate”
Fill in all the details for the certificate and scroll down.

Fill in the remaining information and click on generate.
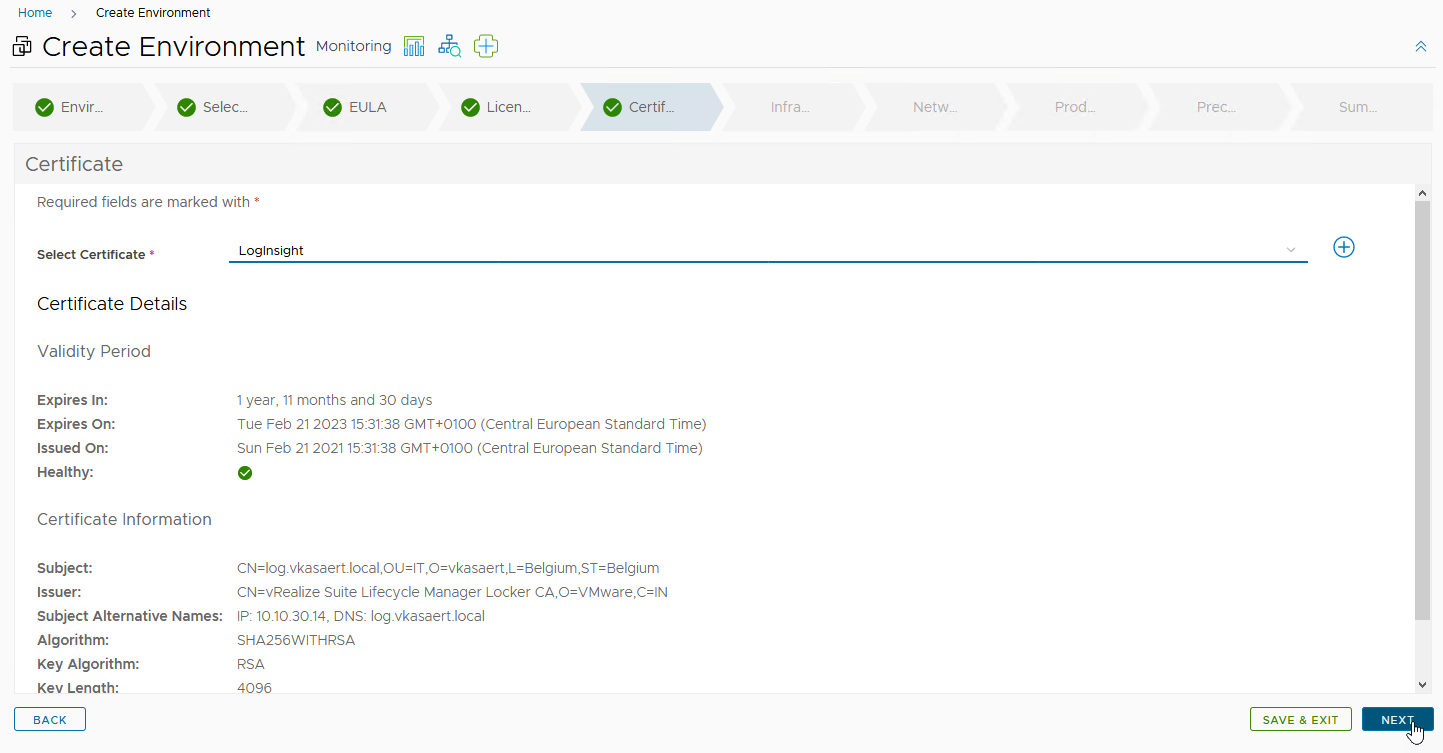
Select the certificate you just created and click on Next.
Choose your vCenter & Cluster and fill in the remaining information for your deployment.

For the DNS servers click on “Edit Server Selection”

And choose your DNS server, I currently only have 1 DNS in my network.

Click on Next

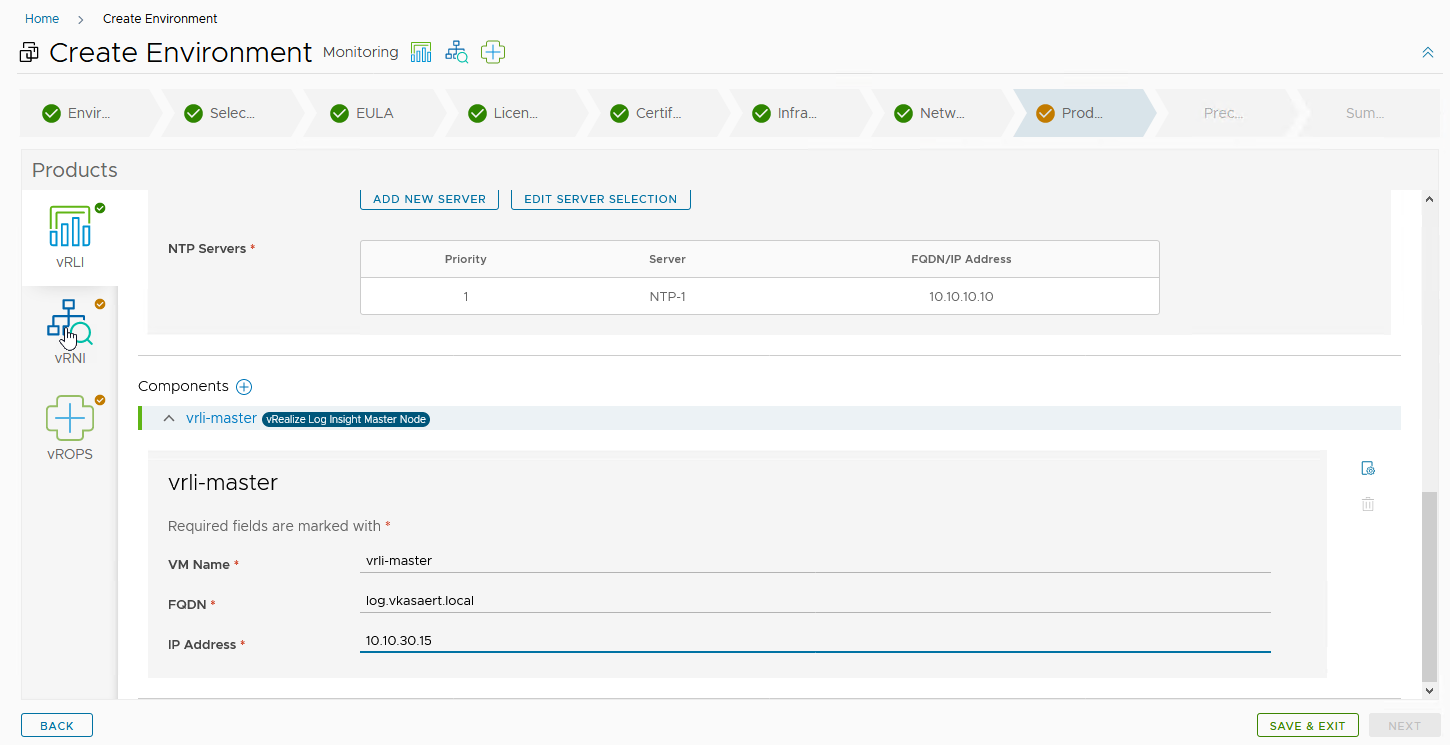
Do the same for the NTP servers.

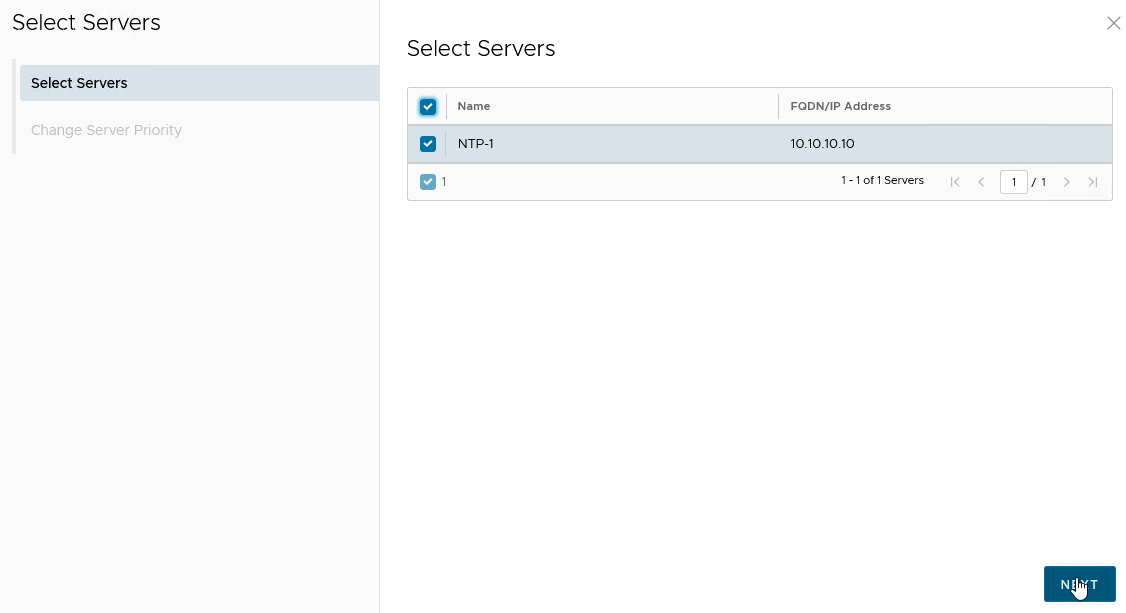
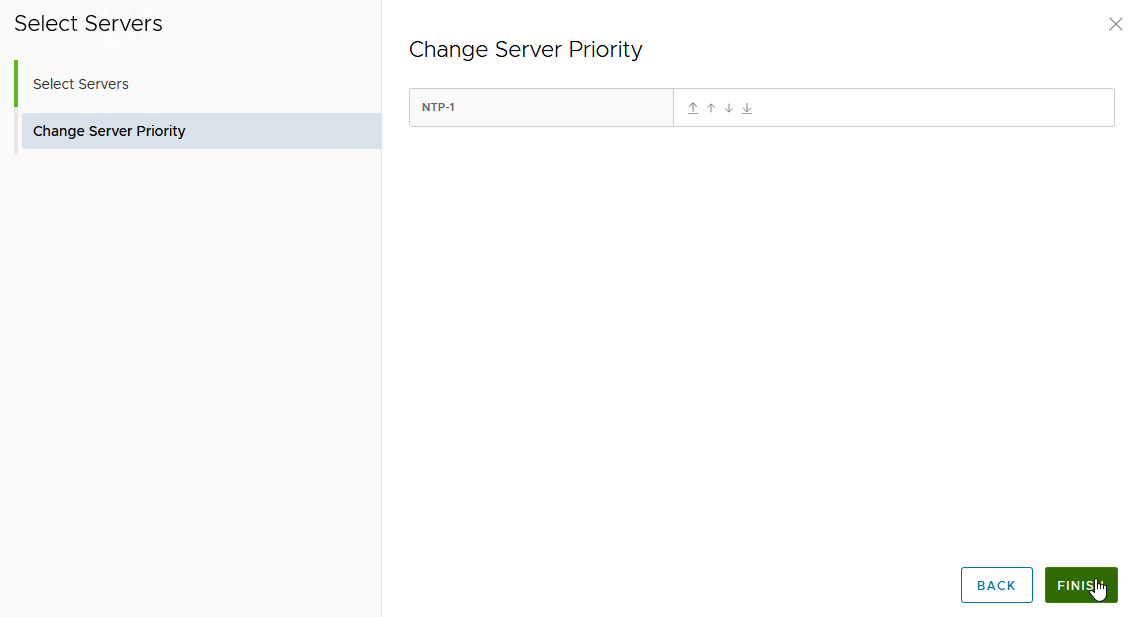
Click on Next

2.1 vRLI config
From here we will do the config for LogInsight. I will not create a cluster because I don’t have my NSX installed/configured yet. That’s for a next post 🙂
We created the certificate before so you can simply select that certificate.
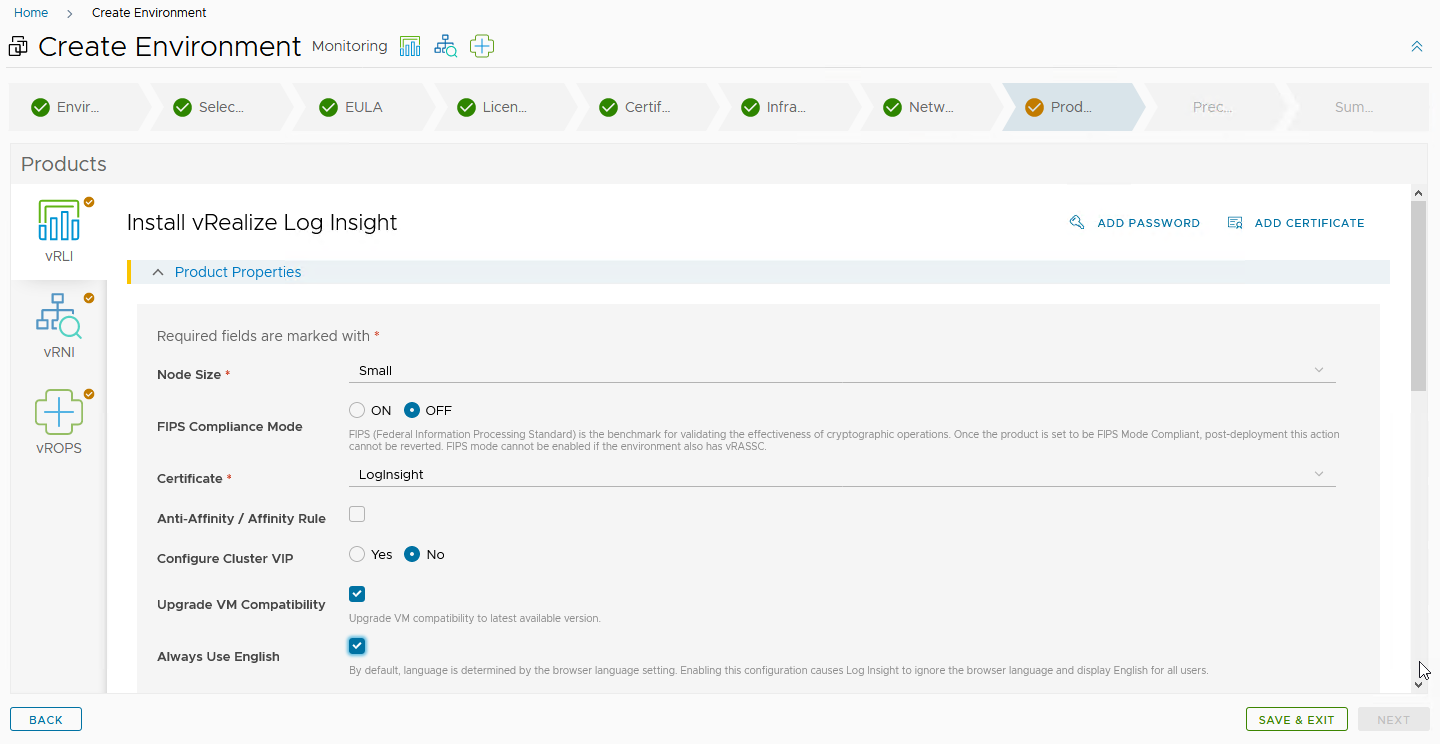
Fill in the remaining details.

Fill in the information for your Log Insight Master
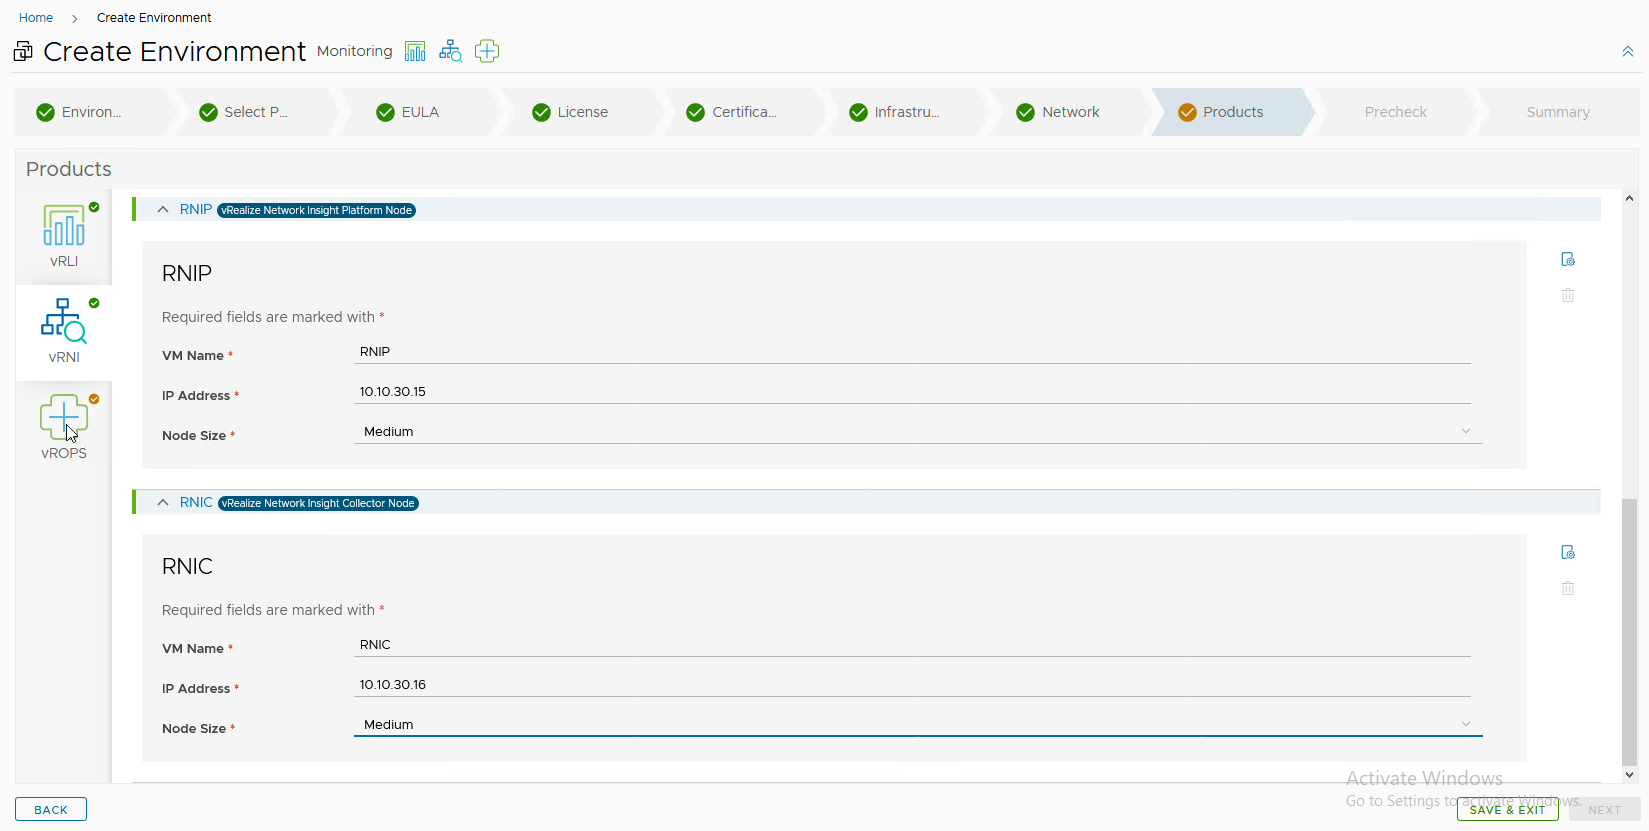
2.2 vRNI config
Also for Network Insight we will need to create an extra certificate. Click on “Add Certificate”

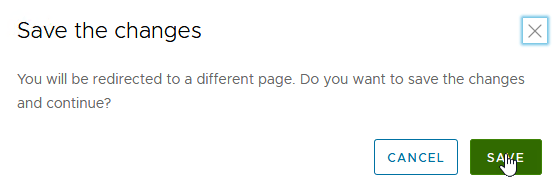
Because you will be redirected to another page, to create your certificate, click on Save before you continue.
Fill in the details for your Network Insight certificate.

Once you filled in all the details scroll down and click on “Generate”

Go back to your environment and select your certificate.

Fill in the details for your Platform & Collector Node.
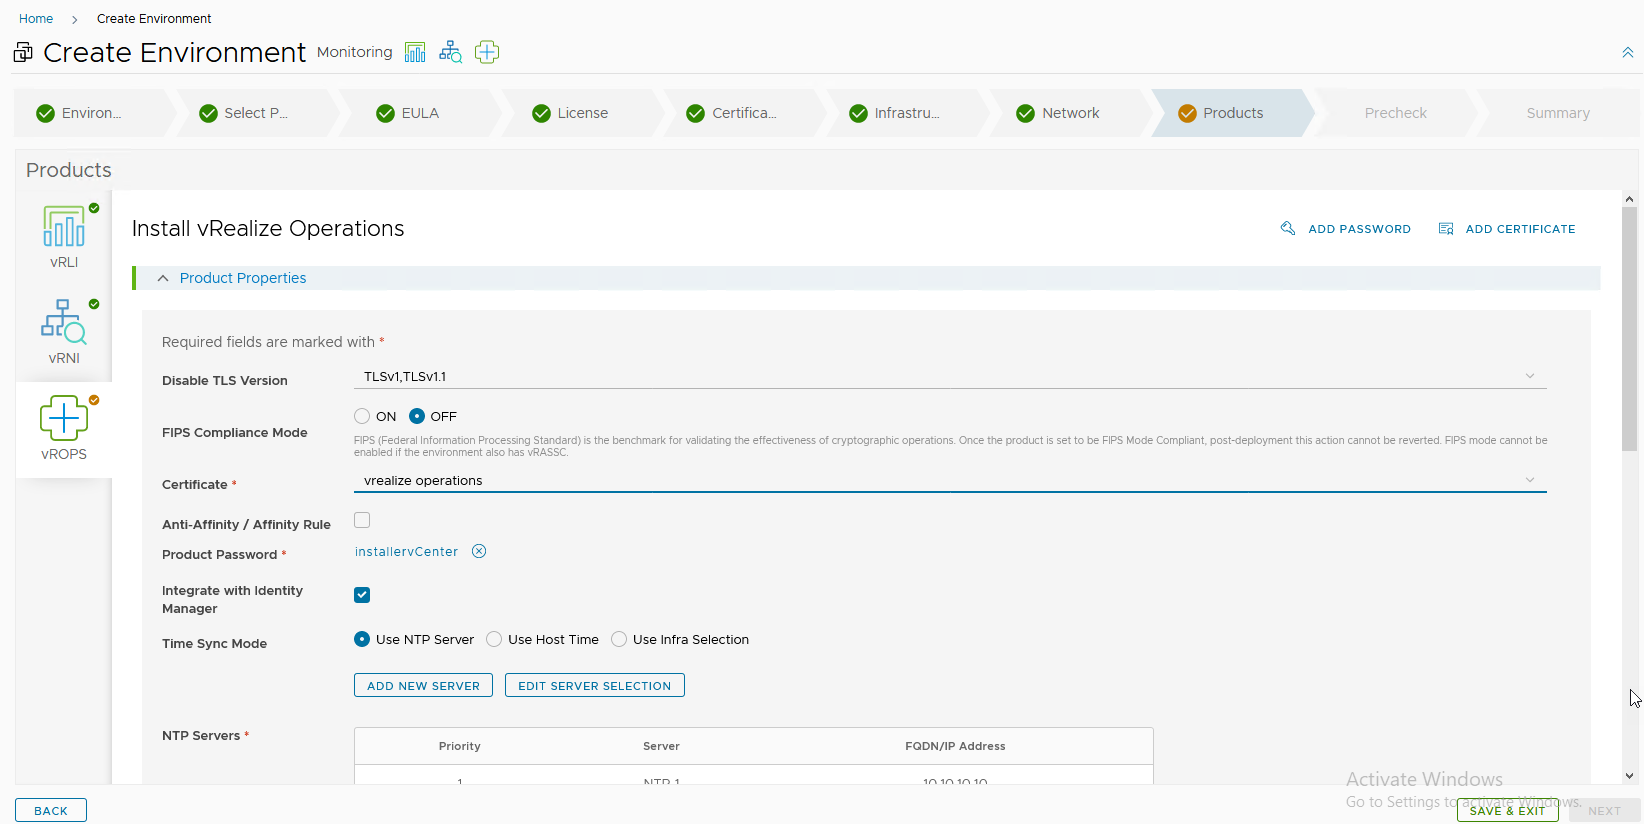
2.3 vROPS config
From here we start the vRealize Operations configuration. Also for vROPS we will need to create a certificate. Click on “Add Certificate” and choose “Create Certificate”

Fill in the details and click on Generate.

Fill in the remaining information for your environment.
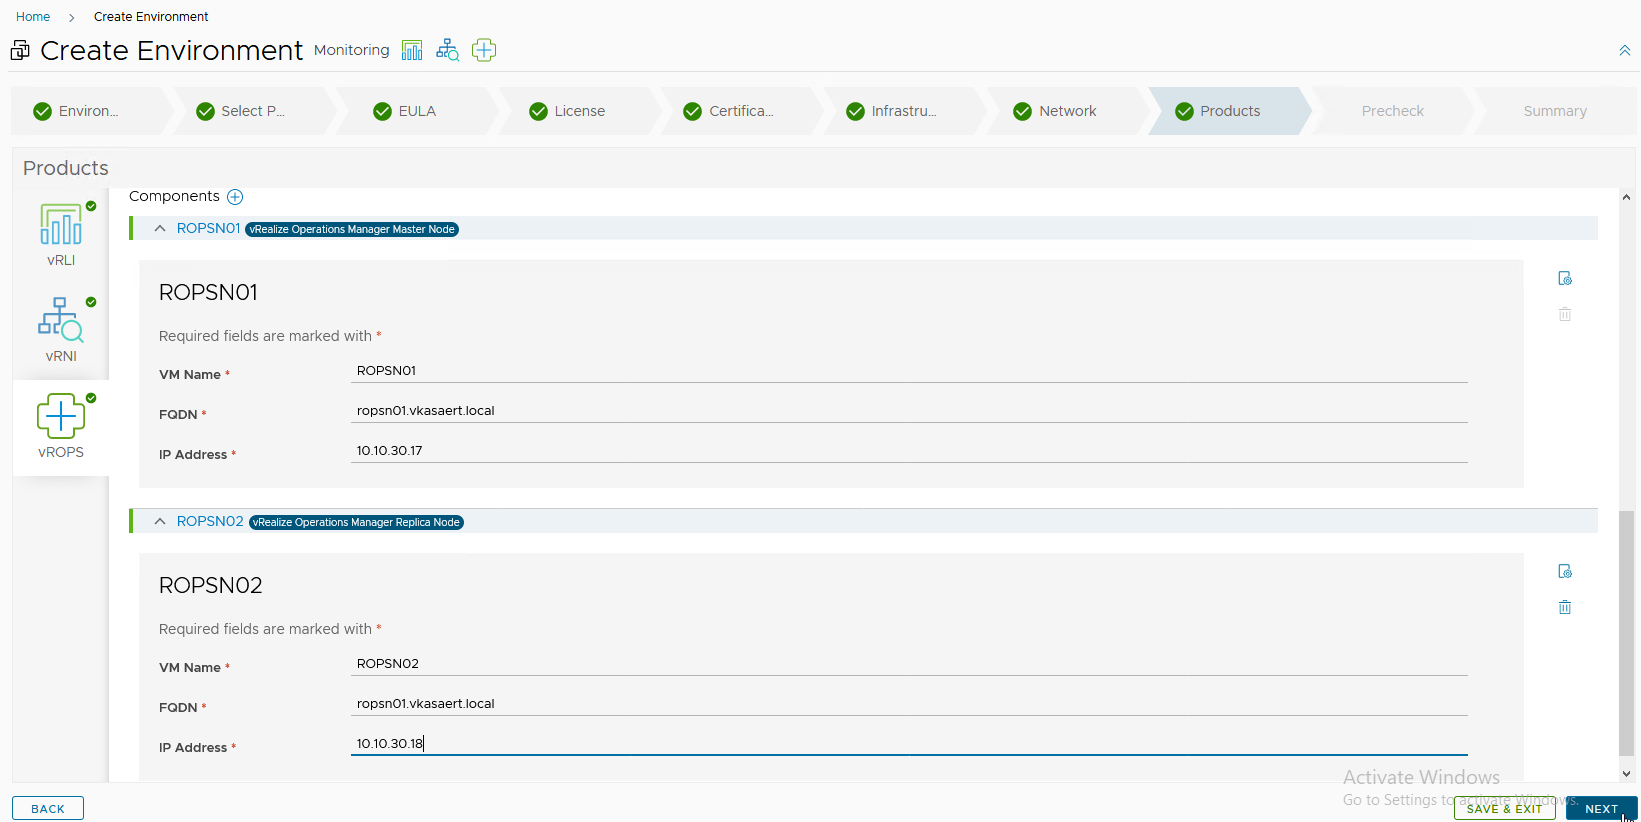
Fill in the information for your master & replica node. The reason I have 2 nodes is because I had chosen a HA deployment with 2 nodes.
Now all the config is done and we can run a PreCheck.
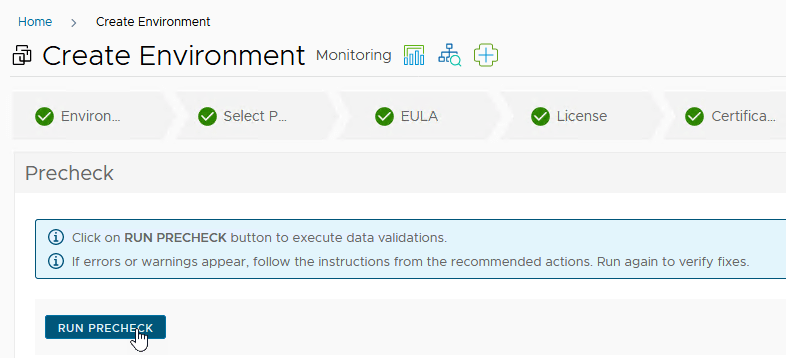
When all your validations have passed you can click on Next.

We’re ready to submit the creation of our New environment. Click on submit.

Now sit back and go get some coffees/teas/cuba libre’s 😀
3. Check deployment
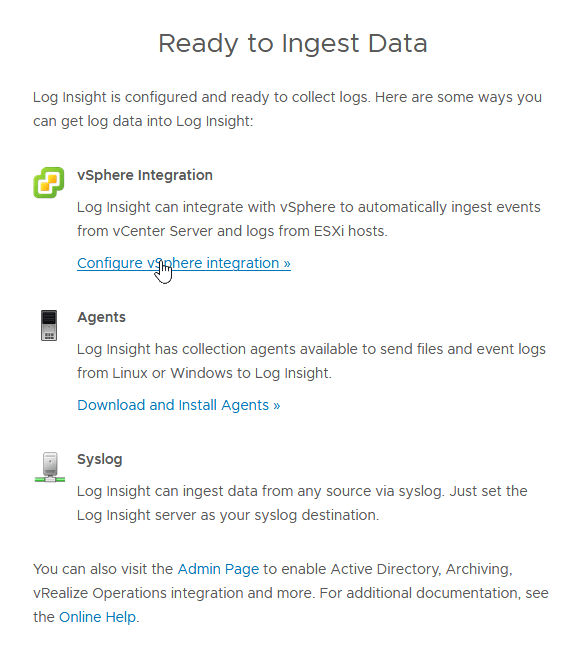
3.1 Configure Log Insight
Log in to your deployed “Login Insight”, for me that was on https://log.vkasaert.local with the userid “admin” and the password that you configured during your deployment.
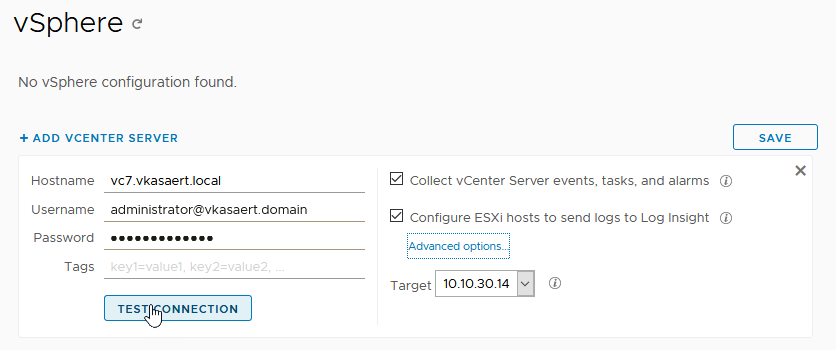
Here I will just configure my vSphere integration.
Fill in your vCenter details and click on “Test Connection”
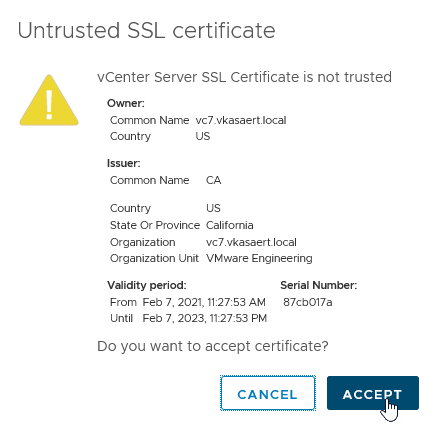
Accept the certificate
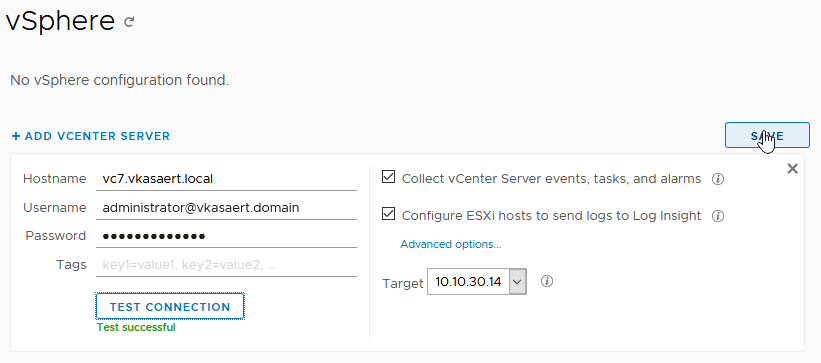
If all is good your test will be successful and you can click on Save.
3.2. Configure vRealize Network Insight
Log in to your deployed “Network Insight”, for me that was on https://rnip.vkasaert.local with the userid “admin@local” and the password that you configured during your deployment.
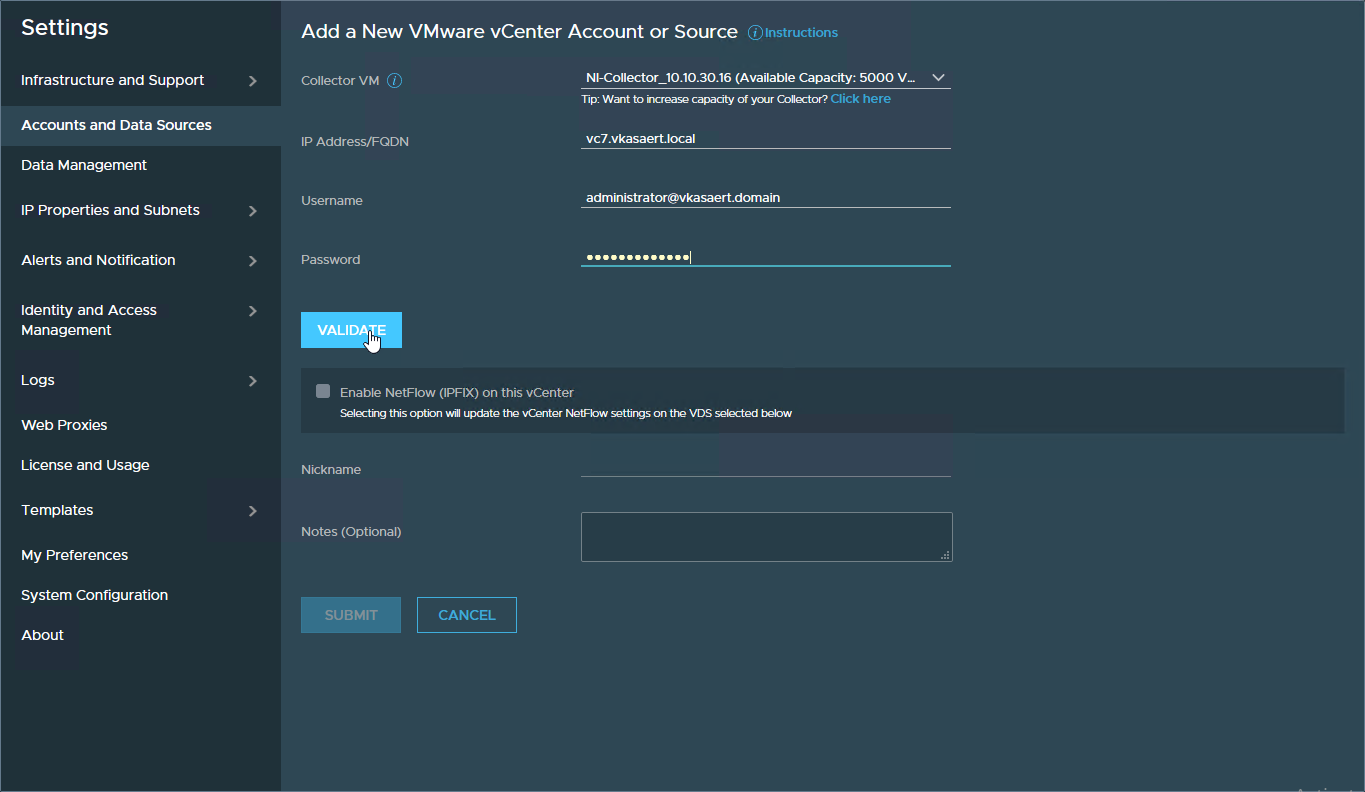
I’ll start with the configuration of my VMware vCenter

Fill in the details of your vCenter and click on Validate
Your validation should be successful. I will enable Netflow.

Click on Enable

I selected all my VDS’es and gave a nickname “IPFIX” not sure where I will see this nickname.

For now I’ll click finish

3.3. Configure vRealize Operations Manager
Log in to your deployed “Operations Manager”, for me that was on https://ropsn01.vkasaert.local with the userid “admin” and the password that you configured during your deployment.
When you’re logged in you can add your vCenter connection. Click on “Add Cloud Account”

Click on Add Account

Select vCenter

Fill in the details for your vCenter. Click on the plus sign next to credential to add your credentials for the vCenter.

Fill in the details for your vCenter and skip the credentials for your actions user. We don’t have one yet.

Choose your collector group

Validate your connection


Currently it’s in status Warning but I’m going to assume because it’s still collecting data.

And indeed after a while it goes in status OK

4. Closing off
Ok so that closes off the installation part of Log Insight, Network Insight & vRealize Operations manager. Now the real testing starts. I’ll keep you posted if anything pops-up.

One thought on “Homelab: Installing vROps/vRNI & Log Insight”