They told me to use GitHub for my Cloud Templates because it gives you the possibility to develop all your code in one place. From there, you can easily distribute your code to any vRA environment you want. But you’ll need to have internet access if you don’t use an internal GitHub.
In this blog I’ll show you how to setup your Git and also how to configure it in vRA.
You never used GitHub before? Just keep on reading and you’ll know how to do it soon enough 🙂
Content blog article
- Prereqs for using GitHub
- Tools Used
- Setting up your GitHub Repository
- Troubleshooting
- Closing off
1. Prereqs for using GitHub
What’s important to know if you want to use GitHub as a central point for your cloud templates or ABX scripts:
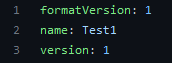
- Each blueprint needs to be saved as “blueprint.yaml”
- Which means that you need to store each blueprint in a separate folder
- The content of your yaml file must contain name and version fields
You can find the complete article for the VMware Github repository setup => HERE
2. Tools used
I was already using Visual Studio Code for my coding. So I just needed to decide how I would push my code to GitHub.
I first started exploring GitHub desktop. But the disadvantage is, that if you change your code in Visual Studio, you have to open your GitHub desktop and commit your changes from there.
With Git you need to do some initial config, but then you can do everything from within Visual Studio. This makes your life easier because you only have to use one application.
I tried both apps, so I documented them both. In that way you can decide for yourself what works better for you.
2.1 GitHub Desktop
You can get the installation files for GitHub Desktop => here
Once it’s installed you need to configure it, but first you need to sign-in to your GitHub.
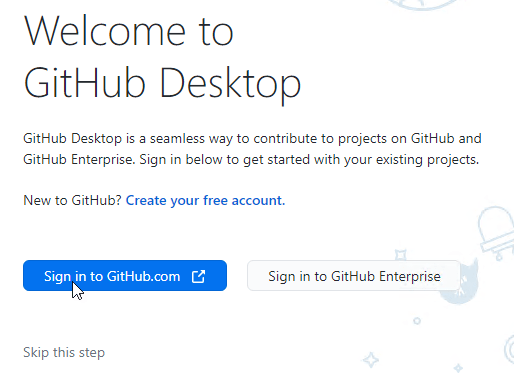
You can choose to use your GitHub account name or configure it manually.

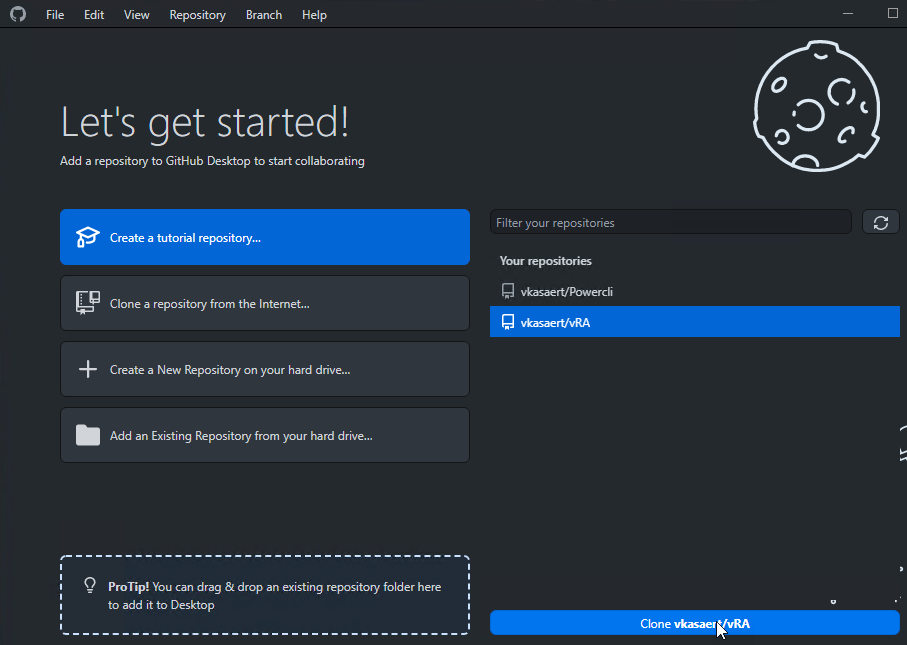
Choose the repository you want to sync and then click on the Clone button.
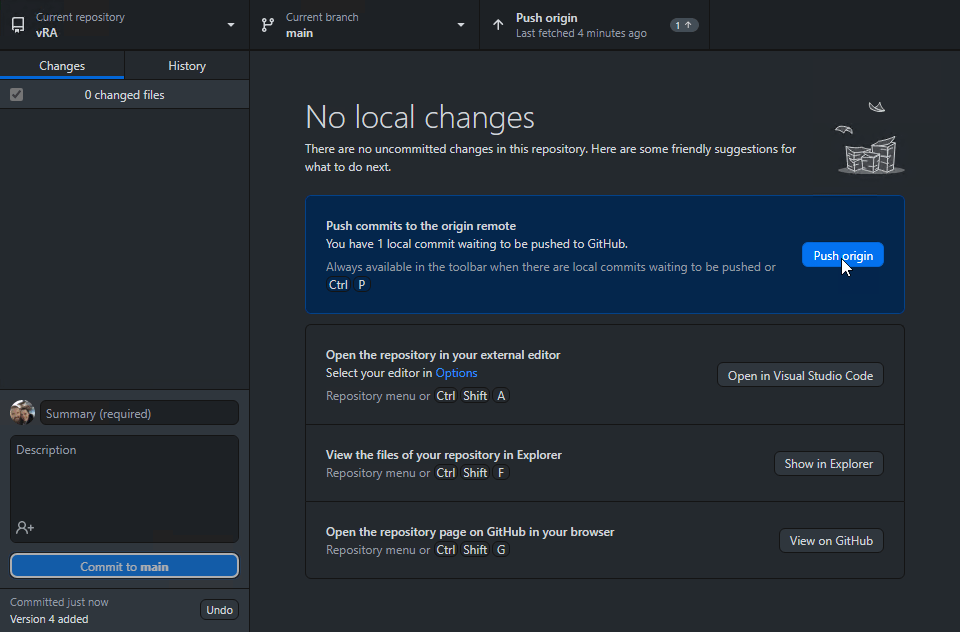
Now once you’ve updated some files in Visual Studio you will see that there are changes waiting for you. Fill in some comment in the red rectangle and click on “Commit to main”

Now click on “Push Origin” to push it to GitHub.
So you see the process isn’t that bad, but you have to open two apps to complete the process of committing your changes. With Git only, you’ll see that’s it’s all done from Visual Studio.
2.2 Git
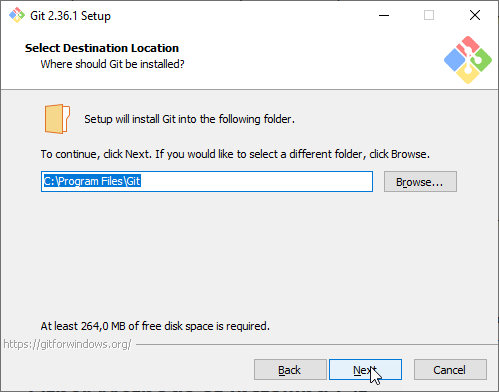
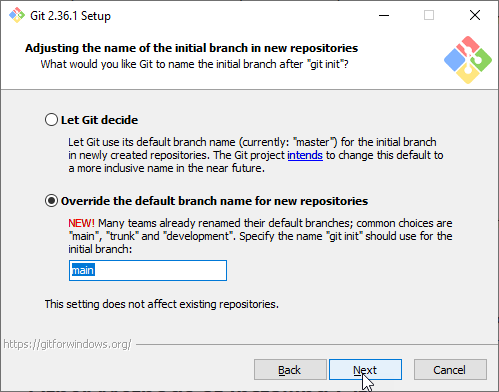
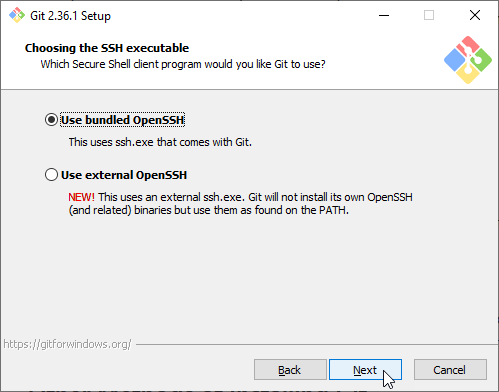
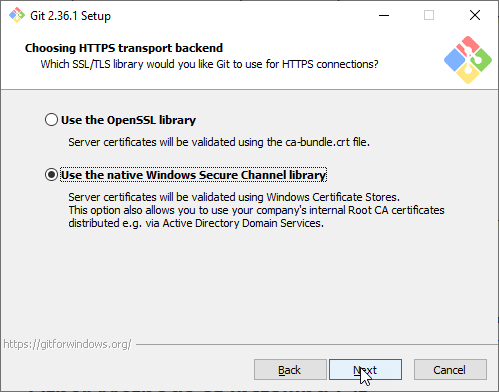
2.2.1 Install Git
You can get the installation files for Git => here
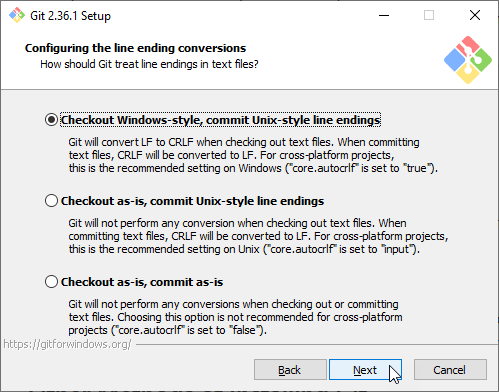
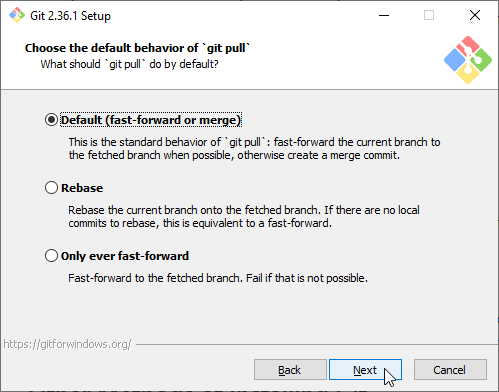
I’ve provided the different installation screens because I wasn’t sure about the options I’ve selected during installation. But all seems to be working, so I assume my options were OK. Be sure to check the different screens, because you’ll see that I didn’t always choose the default option.


2.2.2 Install the GitHub Pull Requests and Issues extension
In Visual Studio Code go to “Extensions” and search for “GitHub Pull Requests and Issues extension” . Then click on install.

2.2.3 Configure Visual Studio
Now you need to link your Git install with Visual Studio Code. In Visual Studio Code go to File => Preferences => Settings.
In your search bar type in “git.path” and click on “Edit in settings.json”

Enter the path to your Git install, making sure that you put in double backslashes. And don’t forget to save your changes once you’re done.

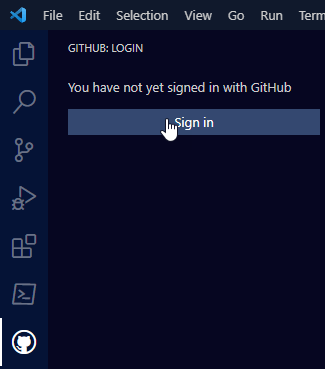
Now you will see that you have a new Icon in your taskbar and you need to click on “Sign in” to authenticate yourself to GitHub. If you don’t have the possibility to sign in, then just go to the next step. The next step will also force the login to GitHub.
Now go to Source Control and press Ctrl + Shift + P.
Type in git and select Git:Clone

Click on “Clone from GitHub”

Choose the repository you want to clone.

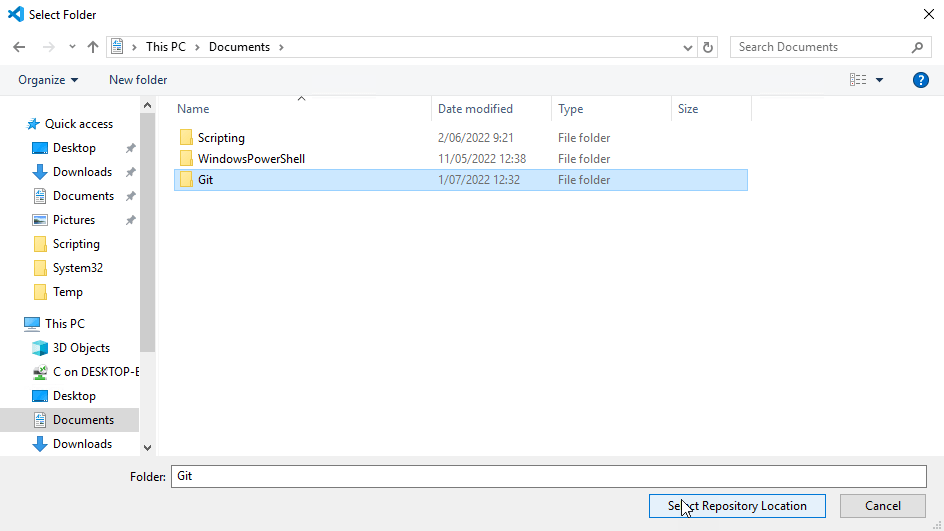
Choose a location where you want to put your Git files. Click on “Select Repository Location”
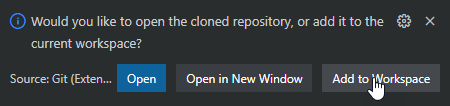
Click on “Add to Workspace”
And now you can edit your files in Visual Studio
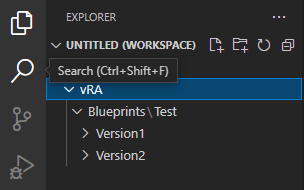
Here you can see that I added a folder “Version3” and my changes are in green.

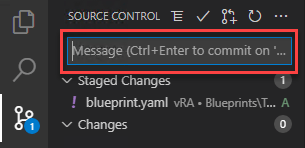
Click on the “+” sign to assign all your changes.

In the red block provide your feedback for your changes and then press “CTRL + Enter” to commit your changes.
Like with every new program you need to get used to it. But once you do, I’ll find the second option easier because you do it all from Visual Studio.
3. Setting up your Git Repository
Now that we have setup our GitHub environment we’re ready to link it to our vRA environment.
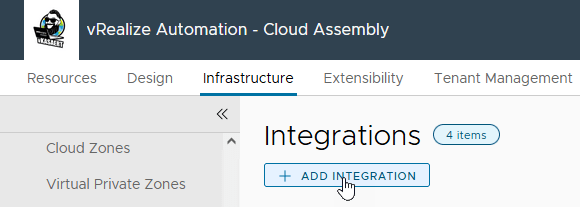
Go to Cloud Assembly => Infrastructure => Connections => Integrations
Click on “Add Integration”
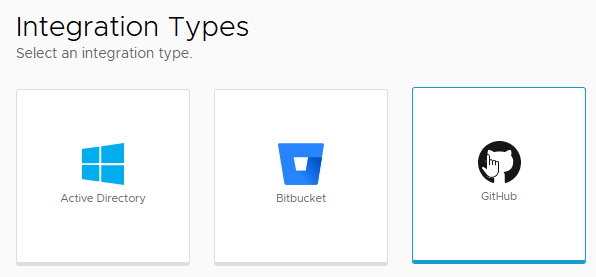
Select GitHub
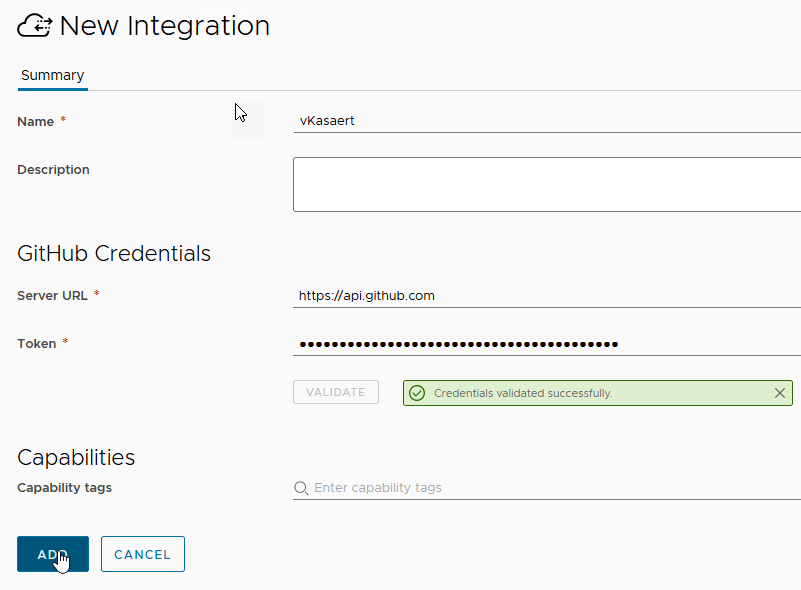
Give your integration a name
To get a token you need to login to GitHub and go to Settings => Developer settings => Personal access tokens. Here you generate a new token.

You choose “Full control of private repositories” and click on “Generate token” at the bottom of the page.

Copy your access token and paste it. Validate your connection.

Now click on “Add” to save your GitHub integration
Go back to your integration by opening it.

Go to Projects and Click on “Add Project”

Choose the project to where you want to assign your GitHub to.
Make sure that the project is created beforehand in Cloud Assembly => Infrastructure => Administration => Projects

Fill in the correct info:
1. Choose the correct type of repository you want to create => Cloud templates
2. The repository link for your Github
3. Choose the correct Branch => main
4. In case you want to only sync a certain Folder you can add that. Otherwise it will sync all the subfolders that are present in your Github

Once you have added your project click on the SYNC.

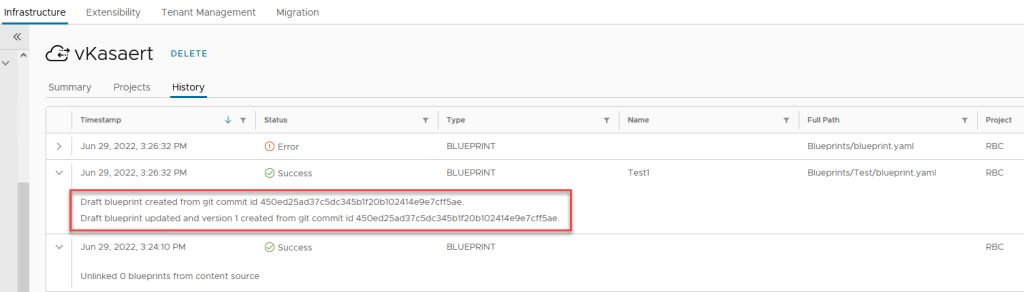
Once your sync is finished go to the “History” tab and make sure that you see something similar like in the red square. If you have a success but you see eg. “Unlinked 0 blueprints from content source” then it means that something is wrong in your yaml file.
Validate if your template is visible in Cloud Assembly => Design => Cloud Templates. If needed click on “Sync Repos” and refresh the page if needed.

4. Troubleshooting
At a certain point I tried to remove my project in Cloud Assembly => Infrastructure => Connections => Integrations. Which gave me an error message “Cannot delete the project(s) as there are associated content sources. The projects will be removed automatically when the associated content sources are deleted.”
I didn’t do any deployments yet from the Github sources. So I knew that nothing was in use. In case you did, you’ll need to check Cloud Assembly => Design => Cloud Templates to make sure that there aren’t any Github sources in use.

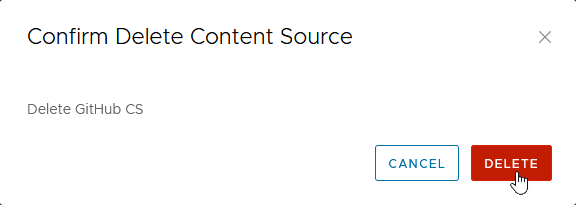
Now I’ve tried a lot of things. And at a certain point, rather by luck, I’ve clicked the X next to the sync. Which gave me a pop-up message asking if I wanted to delete the content source.

I’ve clicked on Delete and that removed the Project without issues for me.
5. Closing off
Well it was for sure something I never used before and a learning experience. Hope this will give you a chance to be a little bit more organized for your coding.
Happy coding 🙂
